Audio Files
User roles
Protocol steward, contributor, community record steward, curator, language steward, language contributor
- Navigate to your dashboard. Select Add Media.
- Select the Audio link.
-
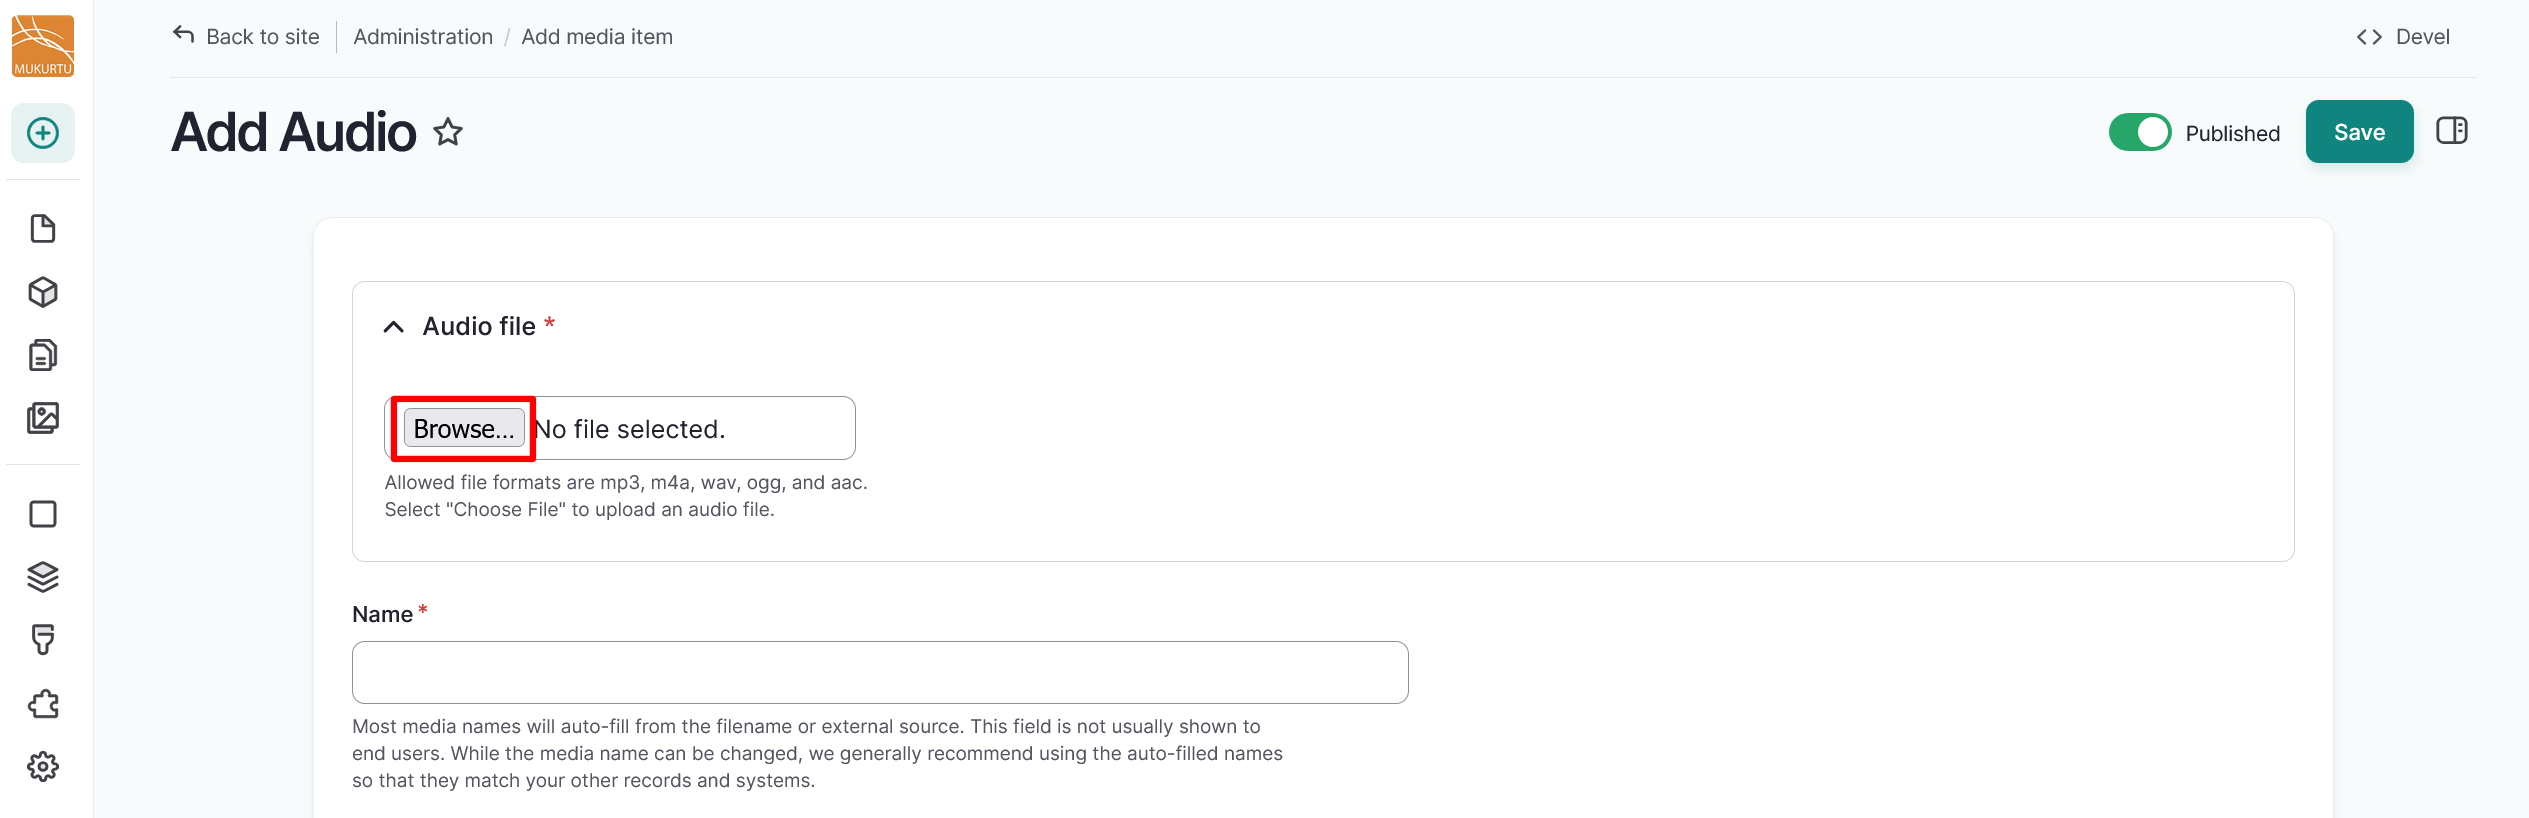
In the Audio file field, select the "Choose File" or "Browse" button to upload an audio file.
Tip
The text of the upload button depends on your browser.
- Select an audio file from your file explorer.
- If you selected the incorrect file, remove it by selecting the "Remove" button after the file uploads.
- This is a required field.
-
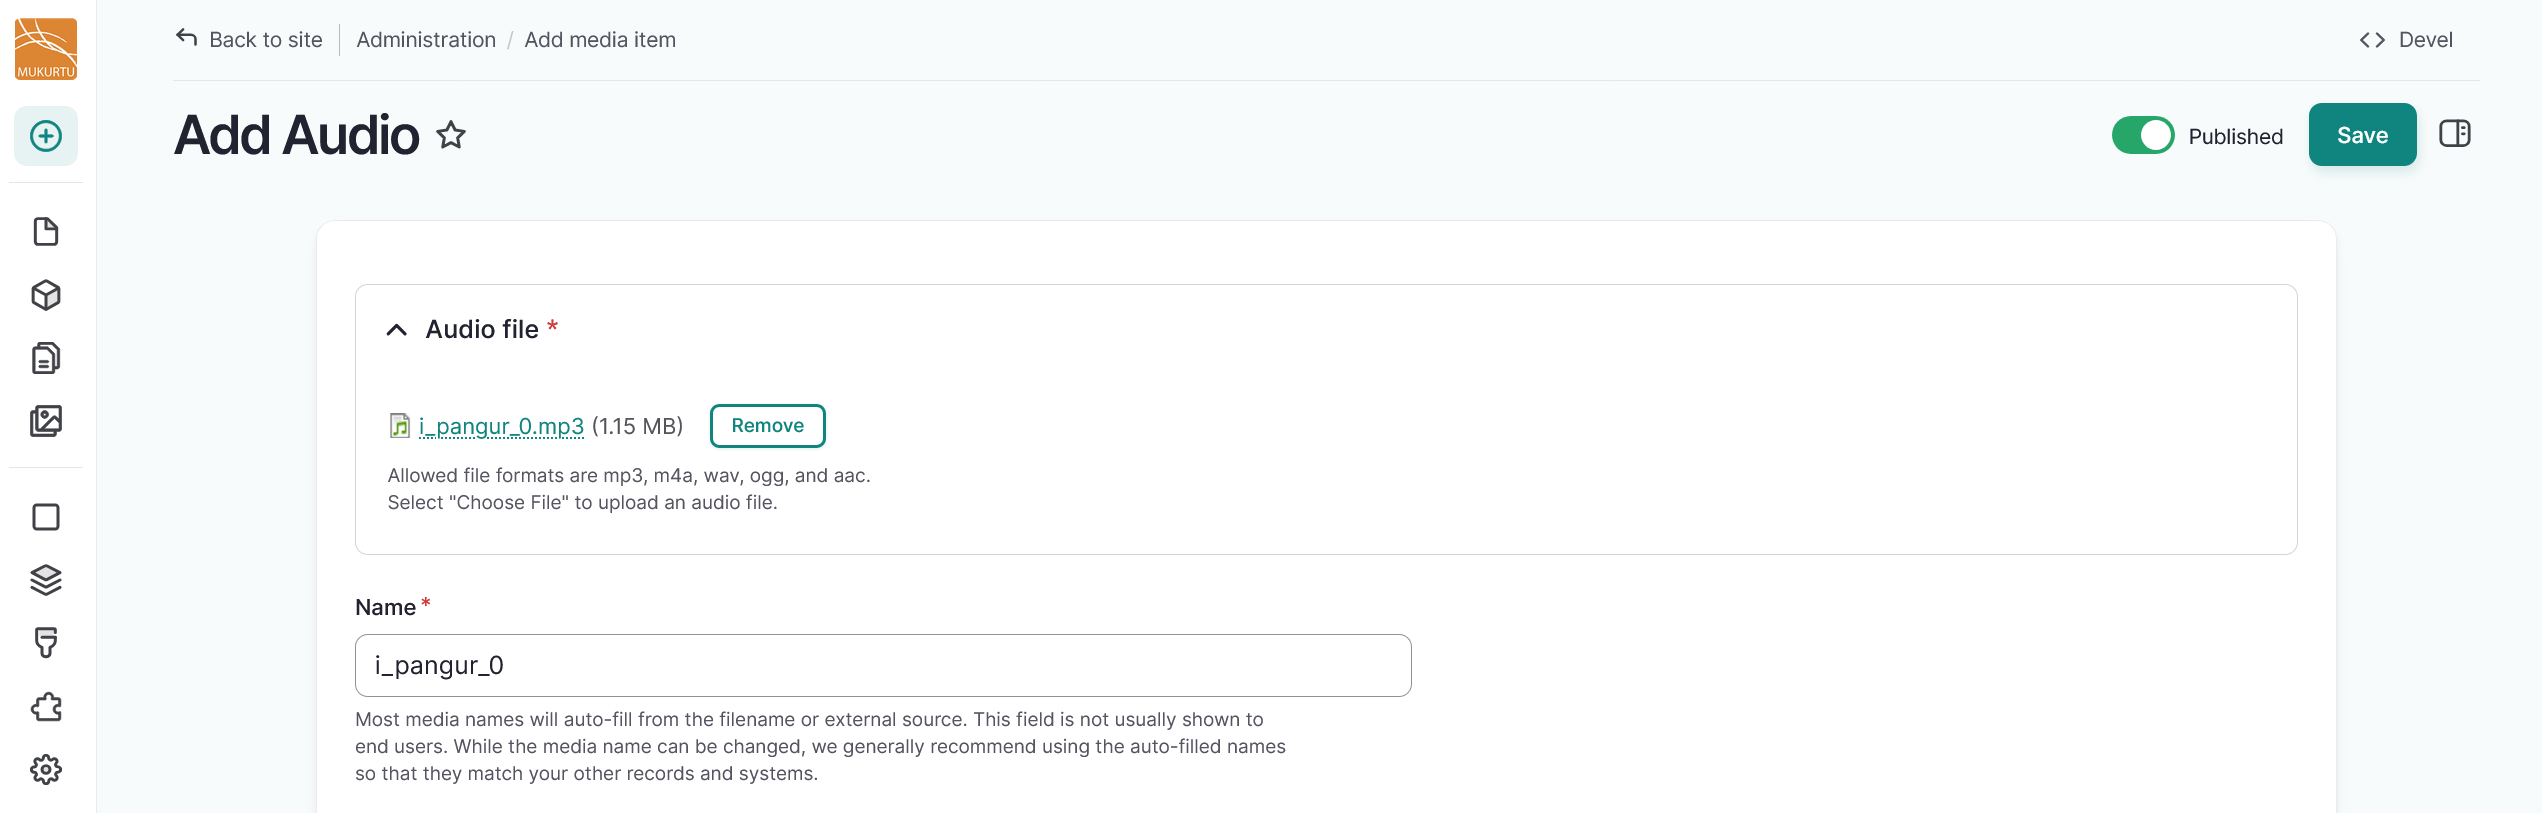
The name of your audio file is automatically generated from your filename. We recommend leaving the autogenerated name so that it is consistent with your existing files and records. If necessary, you can edit the name of your audio file by editing the text in the Name field.
- This is a required field.
-
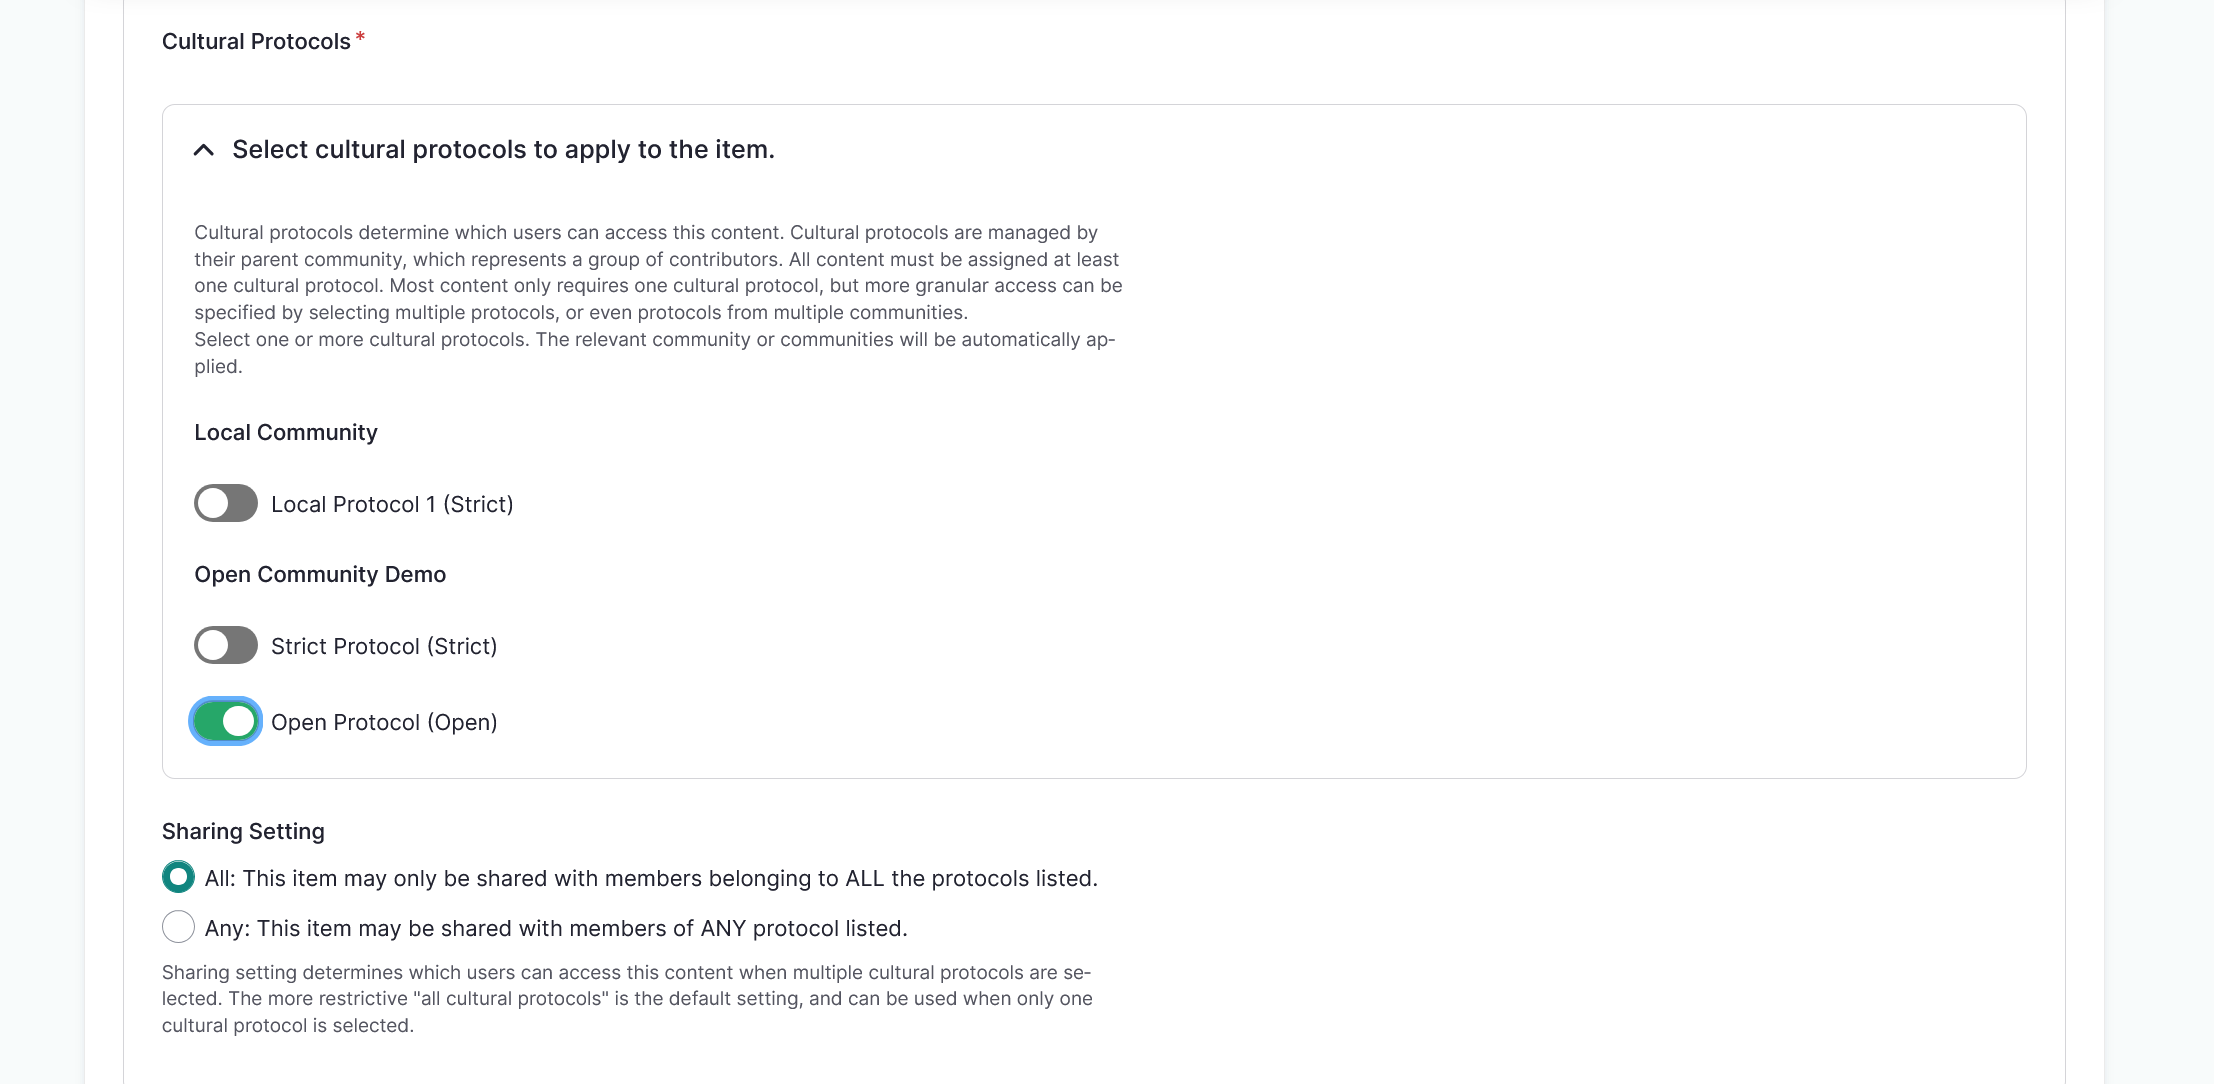
Use the toggles to apply cultural protocols to the media asset.
- This is a required field.
-
Navigate to the Sharing Setting field to apply a sharing setting. Select All or Any.
- All means that the media asset may only be shared with members belonging to ALL the protocols listed. This is the more restrictive setting.
- Any means the asset may be shared with members of ANY of the protocols listed. This is less restrictive.
- This is a required field.
Tip
All is the default setting.
-
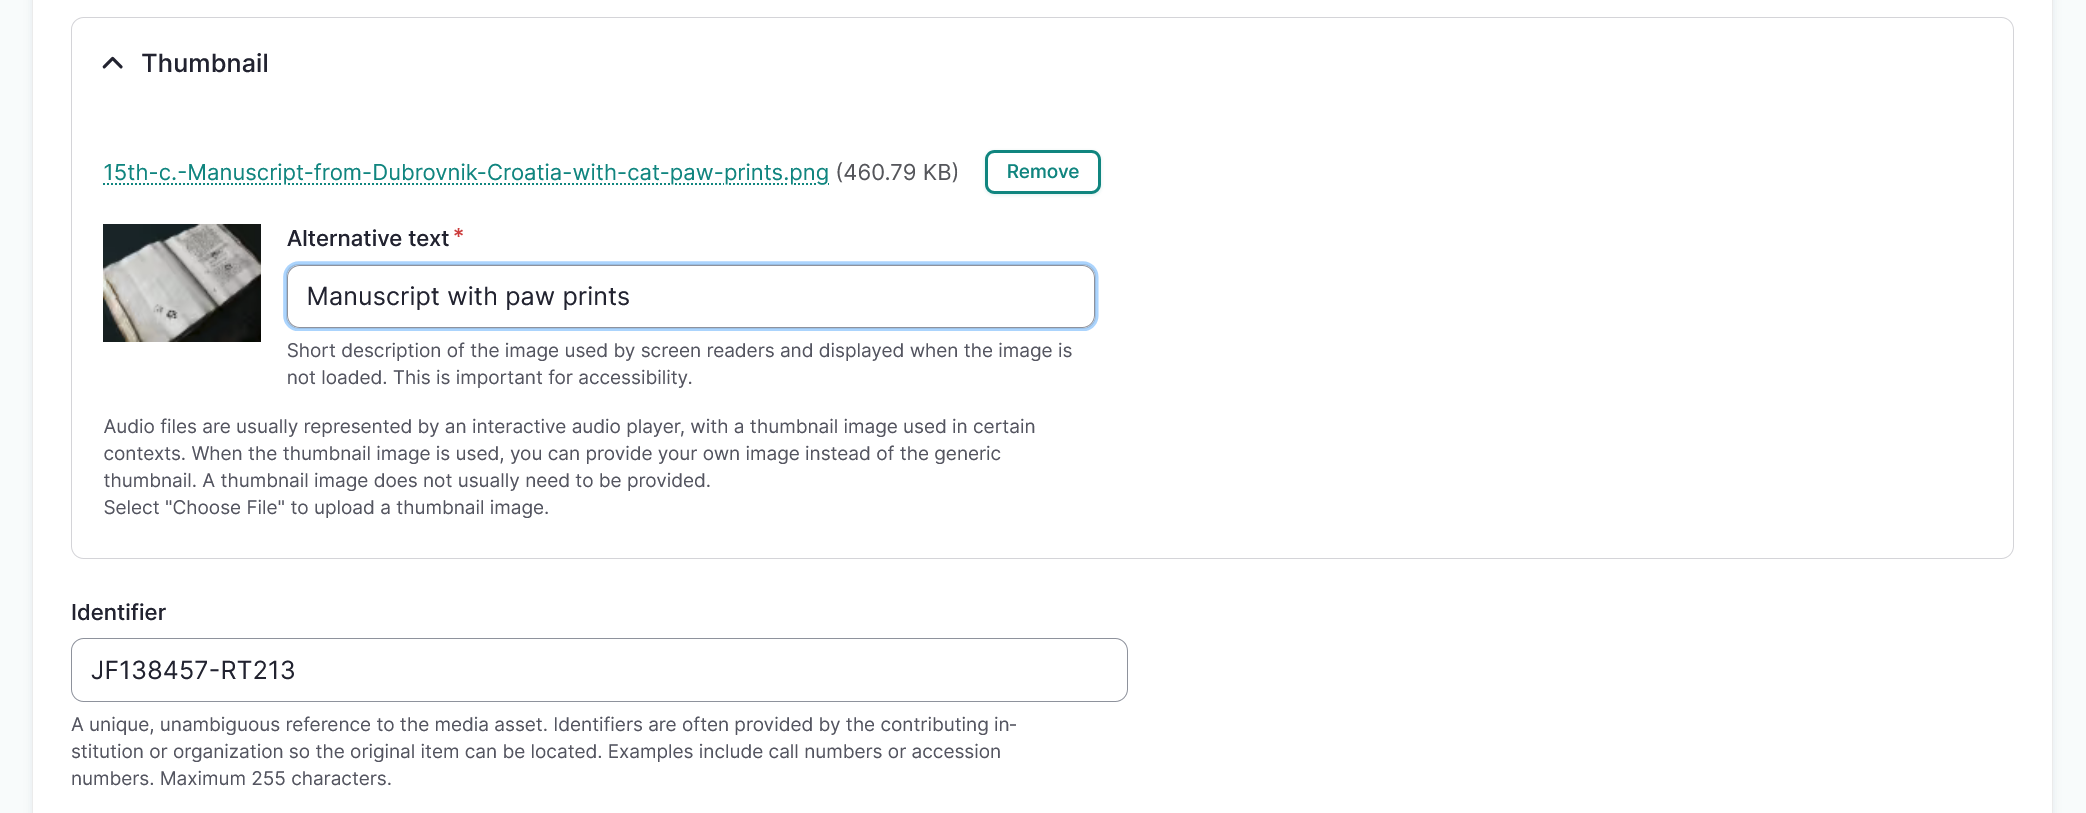
Audio files are represented by an interactive media player instead of a thumbnail image by default. You may choose to add a thumbnail to your audio file.
- Select "Choose file" to upload an image.
- Provide alternative text for your thumbnail. This is required for all thumbnail images.
-
In the Identifier field, provide a unique identifier for the audio file. This identifier is usually an accession number, catalogue number, or other unique identifier.
-
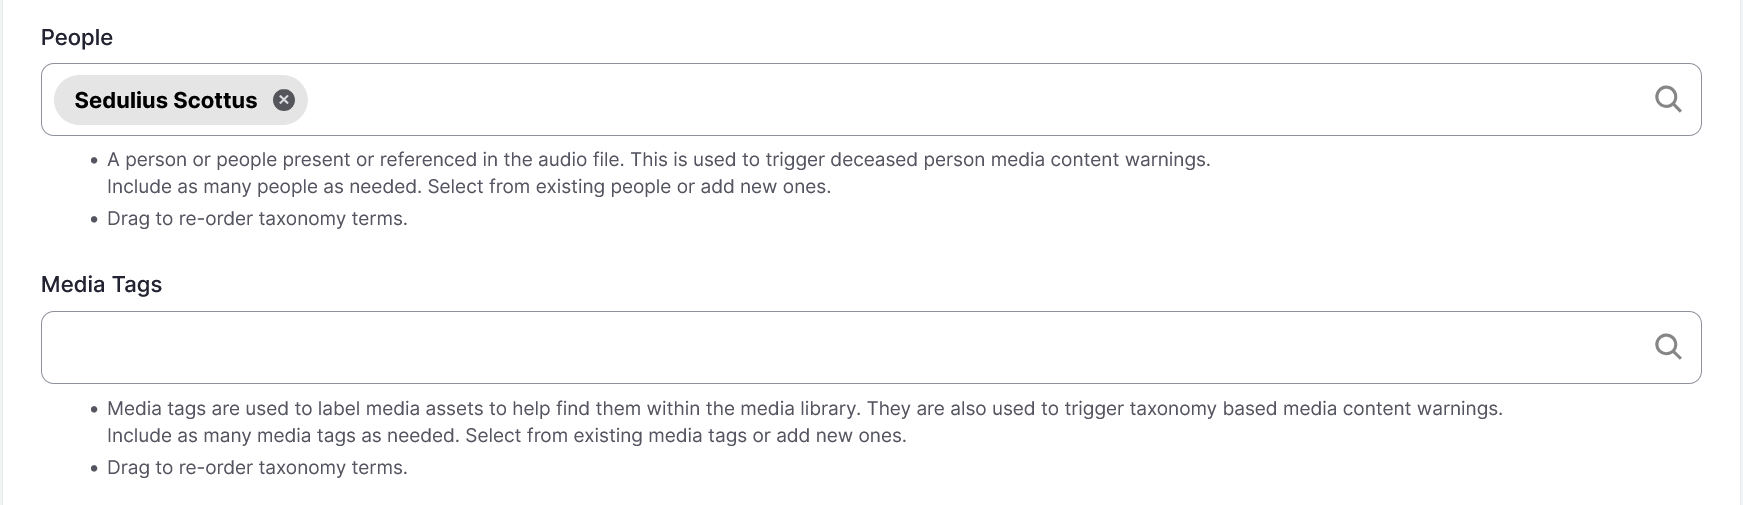
Use the People field to enter the name of anyone present, named, or referenced in the media asset.
Tip
This field feeds into the "deceased person" media content warnings.
- If more than one individual should be listed, use the text box to select existing people terms or add new ones.
- Select and drag to reorder if necessary.
- To remove a person, select the "X".
-
Select a Media tag to apply to the audio file by entering text in the dropdown box and selecting from the provided options.
Tip
Media tags can be used to tag and locate assets within the media library (for example,
oral historyornewspaper). They can also be used to trigger media content warnings when that tool is enabled.- If more than one media tag should be included, use the text box to select existing media tag terms or add new ones.
- Select and drag to reorder if necessary.
- To remove a media tag, select the "X".
-
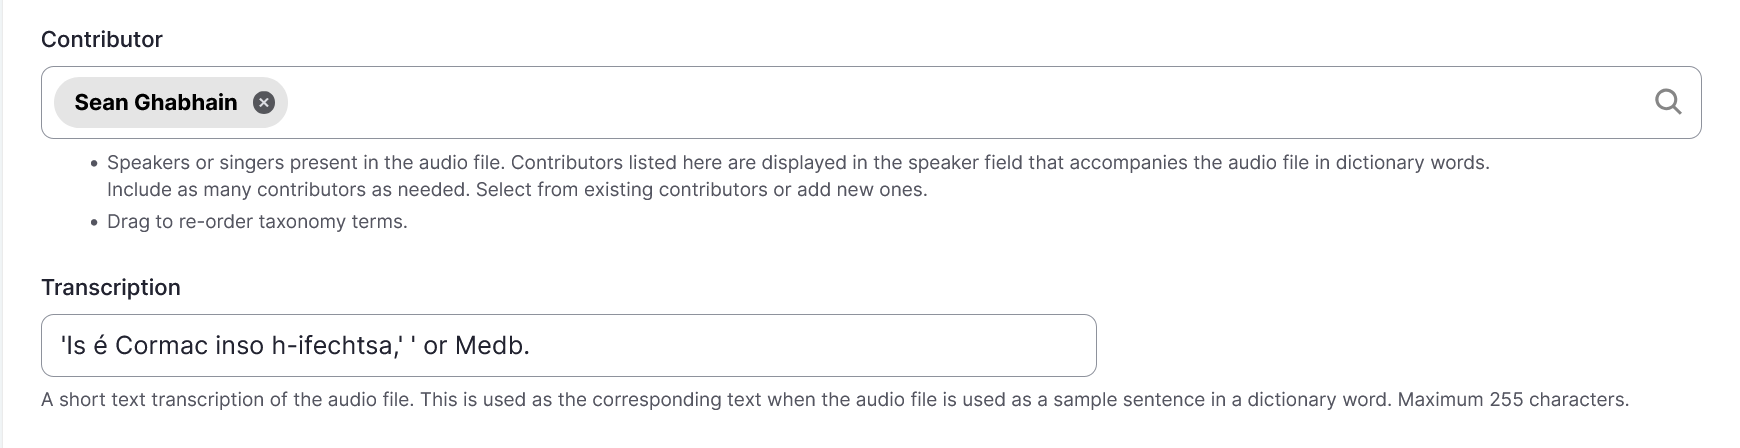
Use the Contributor field to enter the name of the speaker or singer of the recording.
- If more than one person should be listed as a contributor, use the text box to select existing contributor terms or add new ones.
- Select and drag to reorder your contributors if necessary.
- To remove a contributor, select the "X".
-
Use the Transcription field to include a transcription of the content of your audio file. This field is intended for use when uploading recordings of dictionary words and sample sentences and has a character limit of 255 characters.
-
Select the "Save" button to save your media asset.