Importing Content
User roles
Administrator, Mukurtu manager, Roundtrip manager
This article will walk you through the general steps to import a .csv metadata sheet and accompanying media assets. While the basic steps are the same for each content type, there are specifics about each type that are discussed in dedicated articles. Please refer to the article for the content type you are importing for more detail:
- Importing Digital Heritage Items
- Importing Dictionary Words
- Importing Person records
- Importing Place Records
- Importing Word Lists
- Importing Collections
- Importing Media Assets
Requirement
Users must either be a Mukurtu manager or a Roundtrip manager to access roundtrip tools. Users will only be able to upload according to their protocol permissions. See Manage User from a Site-wide role for more information.
Upload content
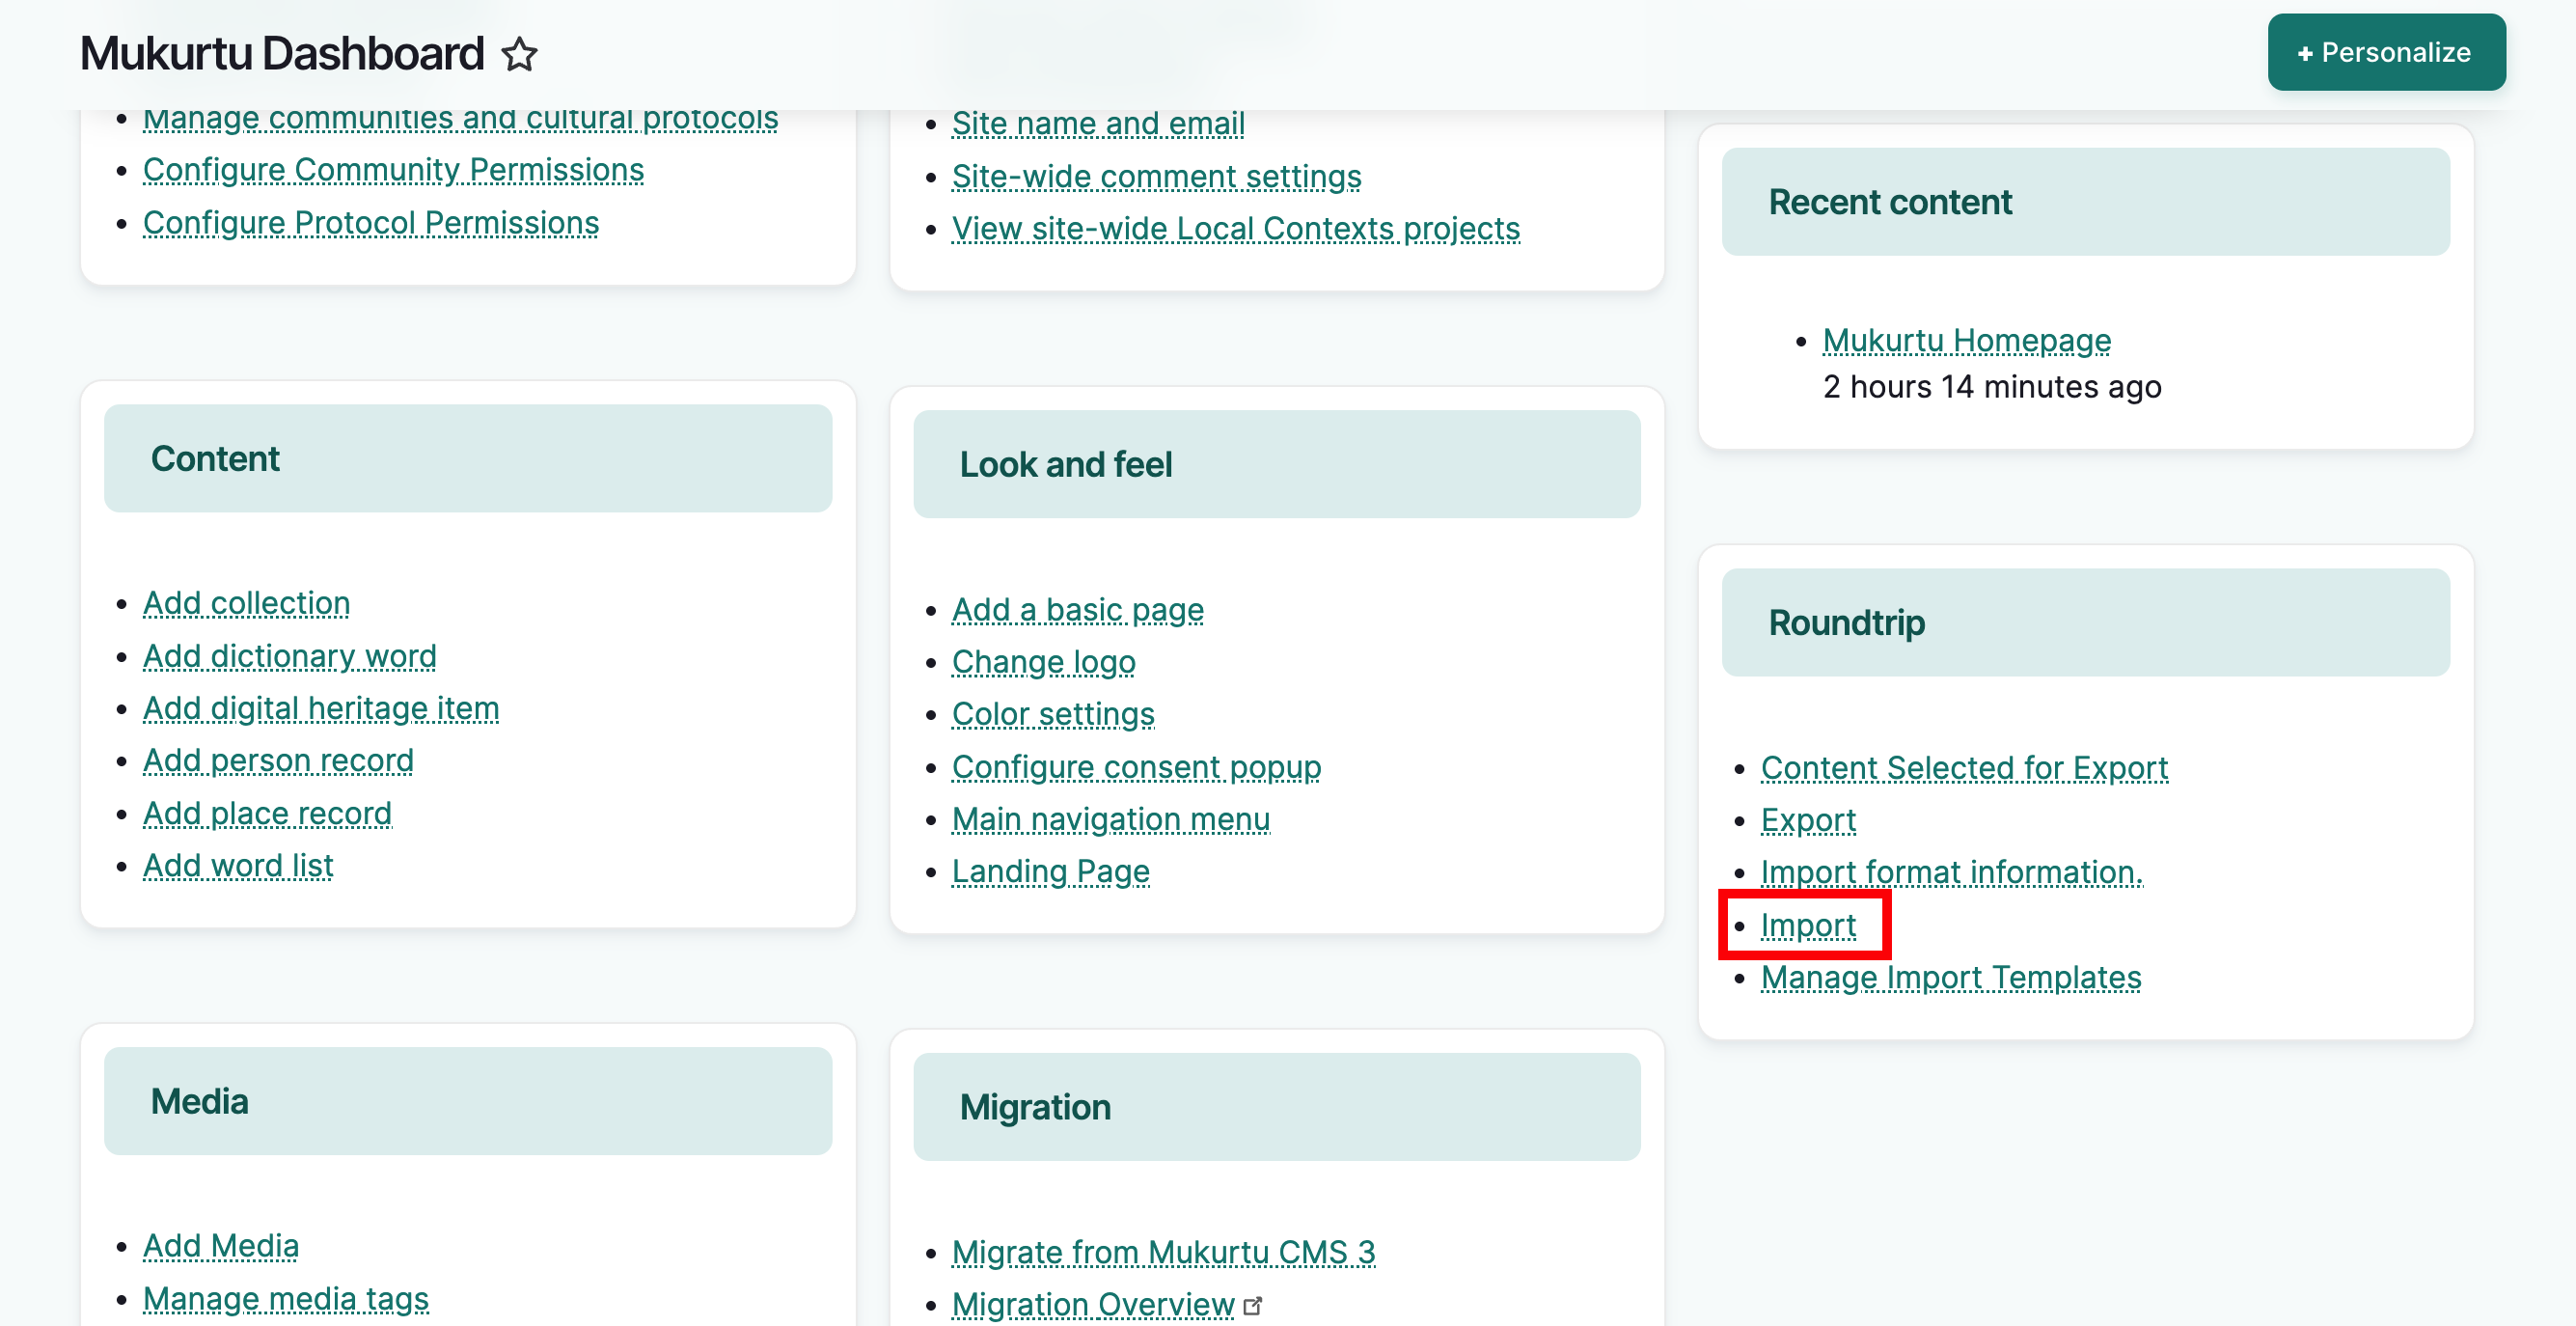
To import content, go to /admin/import or from the dashboard, select Import.
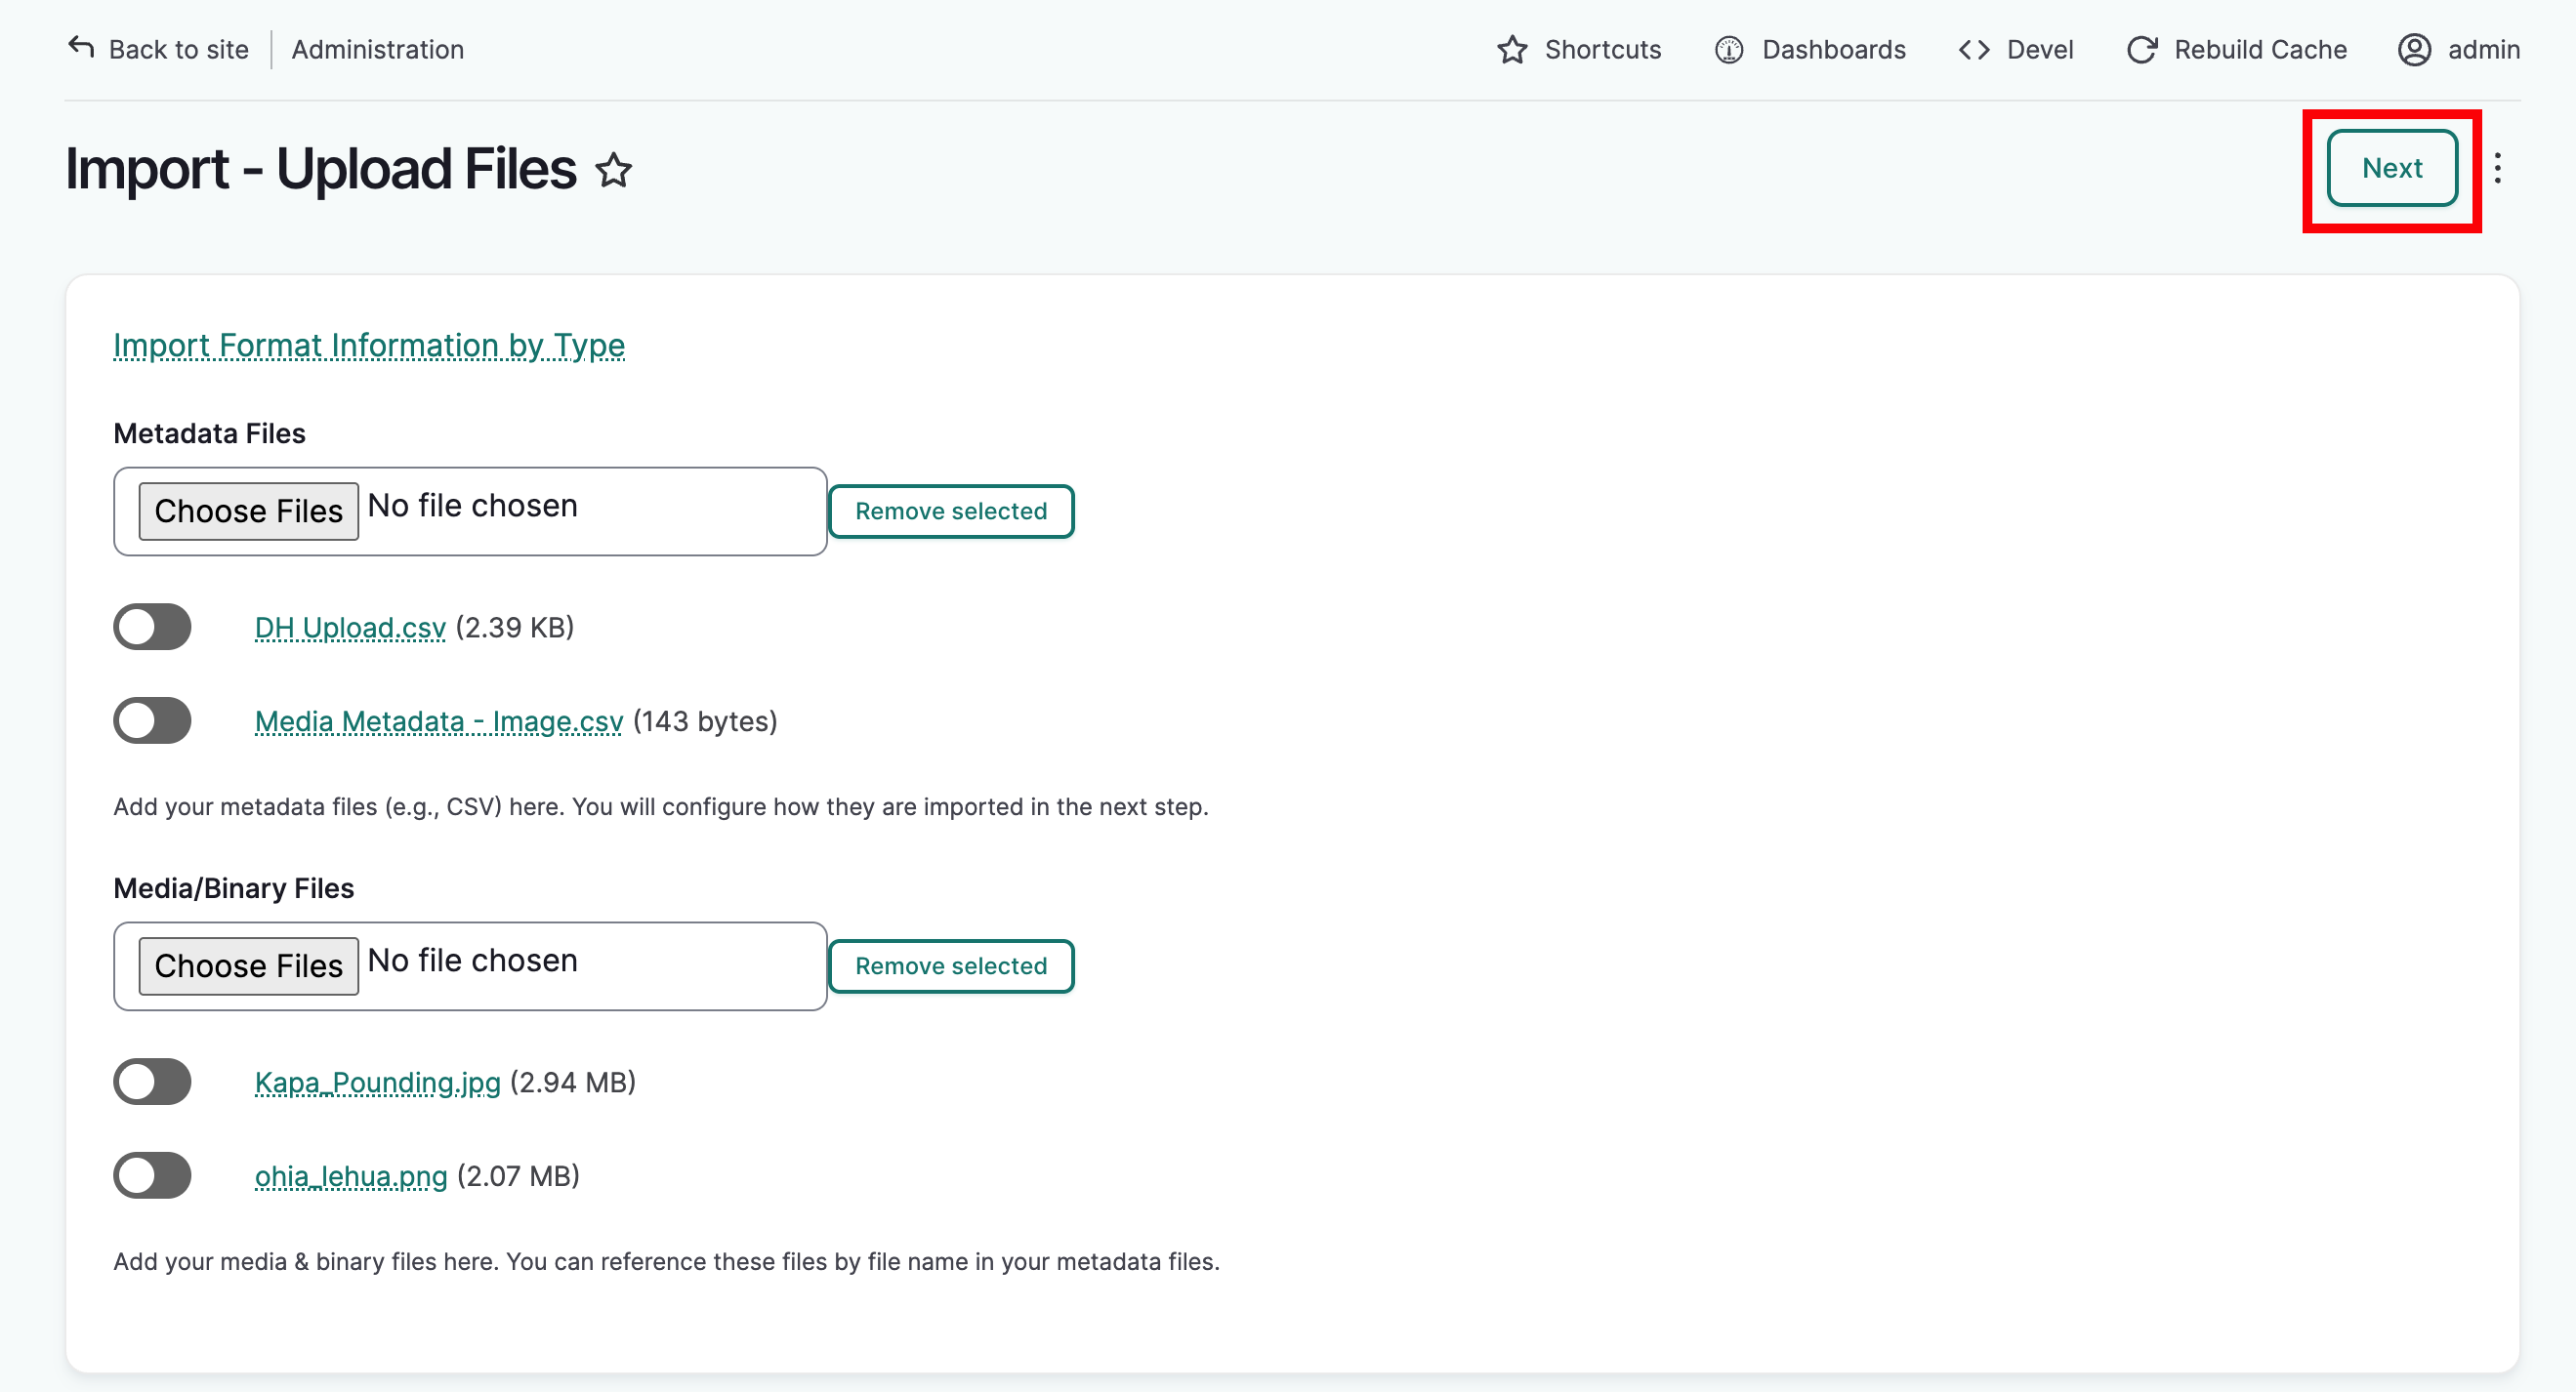
The import page has two upload fields. The metadata files field is for .csv sheets only. The media/binary files field is for media or binary files that are referenced in the csv sheets. You can upload multiple files in each field.
Requirement
To upload media, you must upload an accompanying metadata sheet for the media asset that is separate from the content item. See Importing Media Assets for instructions.
-
Under metadata files select "choose files." Select the file(s) you would like to upload.
-
Under media/binary files select "choose files." Select the media file(s) you woud like to upload.
Any combination of CSV sheets and supported media assets can be selected. When you are done, select "Next" to continue on to the file configuration page.
Configure import settings
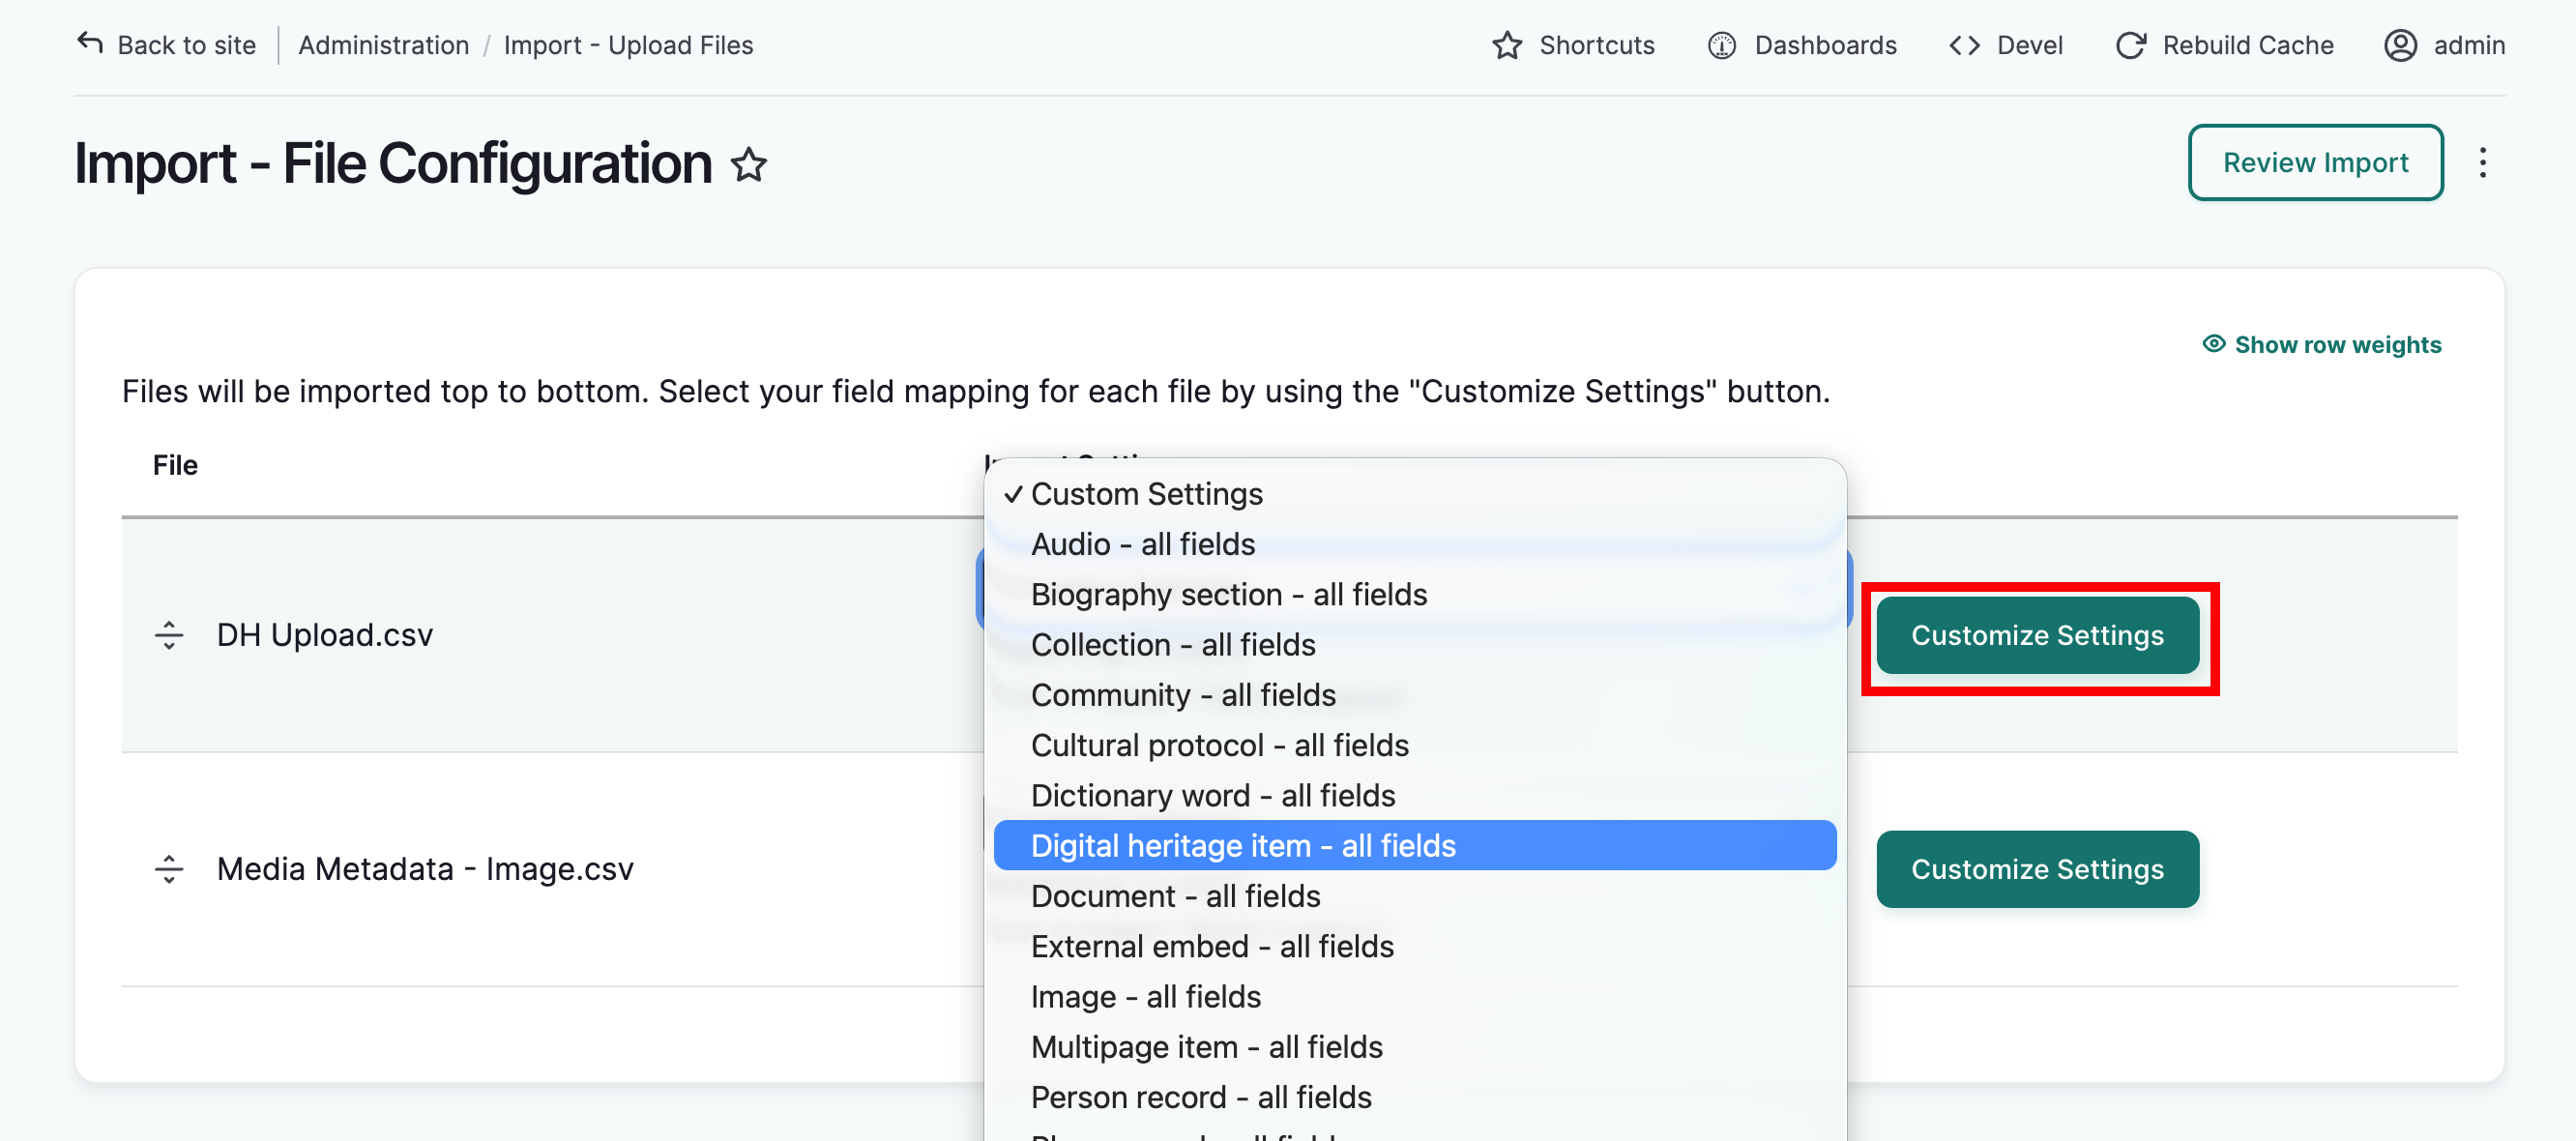
The file configuration page lists each spreadsheet you've uploaded. The custom configuration dropdown menu lists several templates that when selected, apply the default import settings for that content. You may want to start with that, and customize it to your needs.
If you have a custom template saved, it will also be listed.
If you are not using a template, you can create customizations from scratch.
Either way, you can customize your settings by selecing "customize settings."
If you uploaded multiple spreadsheets, each spreadsheet will need to be configured individually following the steps below.
Import type
-
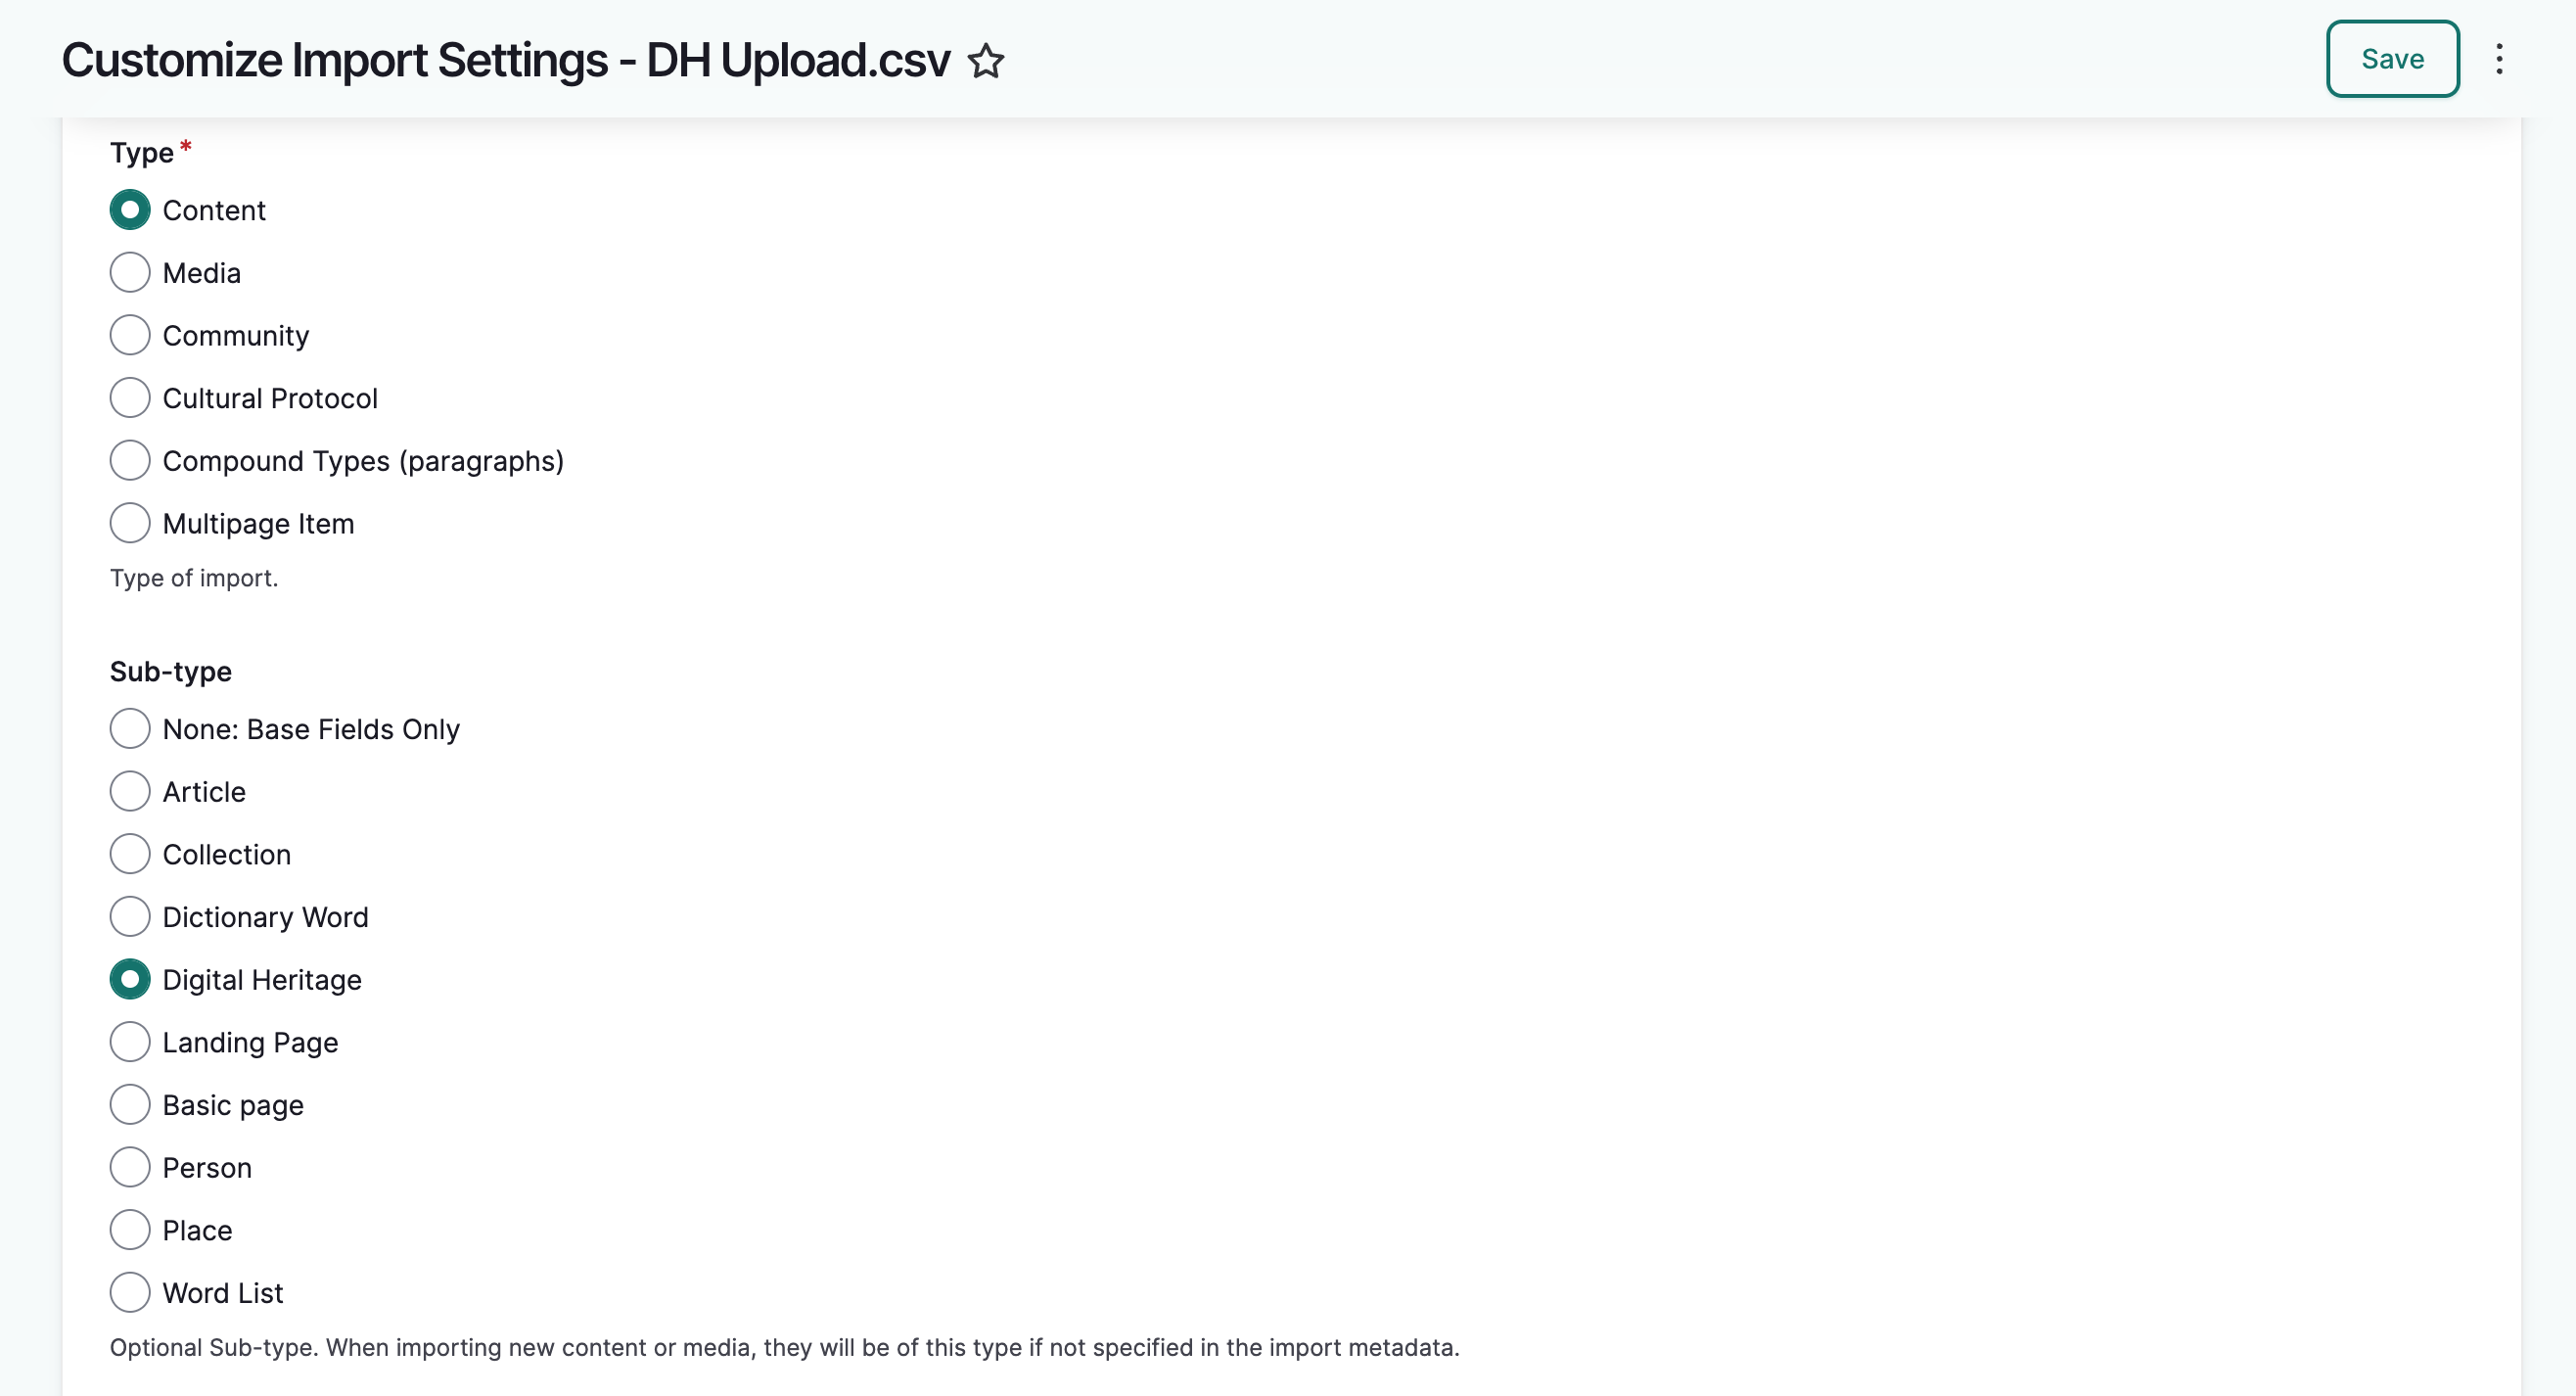
There are several types of imports. In this case, we are importing content. Select content as the import type.
- This is a required field.
-
Under import sub-type, select a sub-type. Because the import type is content, all content types will be listed here. If the import type was media, the sub-type would list all media types, etc. Upload type and sub-type determine which fields are used for mapping.
Define custom source/target mappings
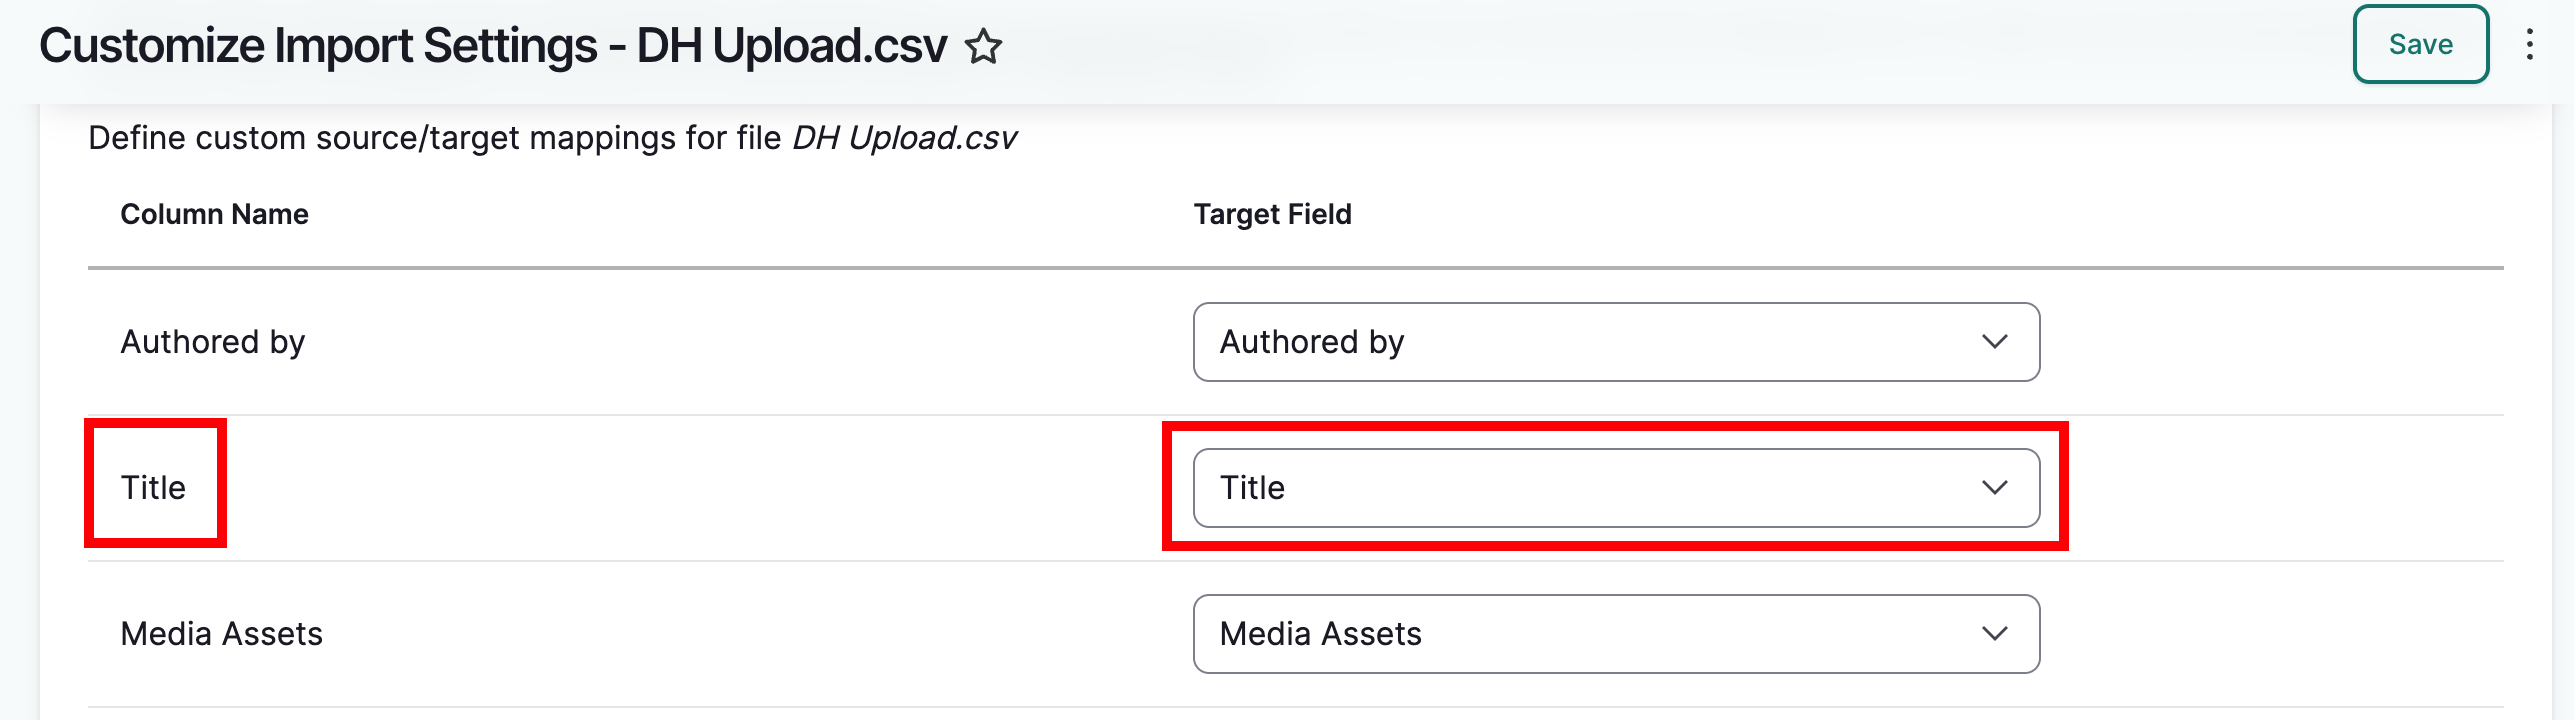
The column headers in your metadata sheet do not need to match Mukurtu's metadata schema. This next section allows you to map your column headers to Mukurtu. On the left you will see your spreadsheet's column names. To the right are the Mukurtu target fields. Each dropdown menu in the target fields column lists all metadata fields for the content type you are uploading.
Column names that match Mukurtu's metadata schema will map automatically (title and description fields for example). You can select a different field if desired.
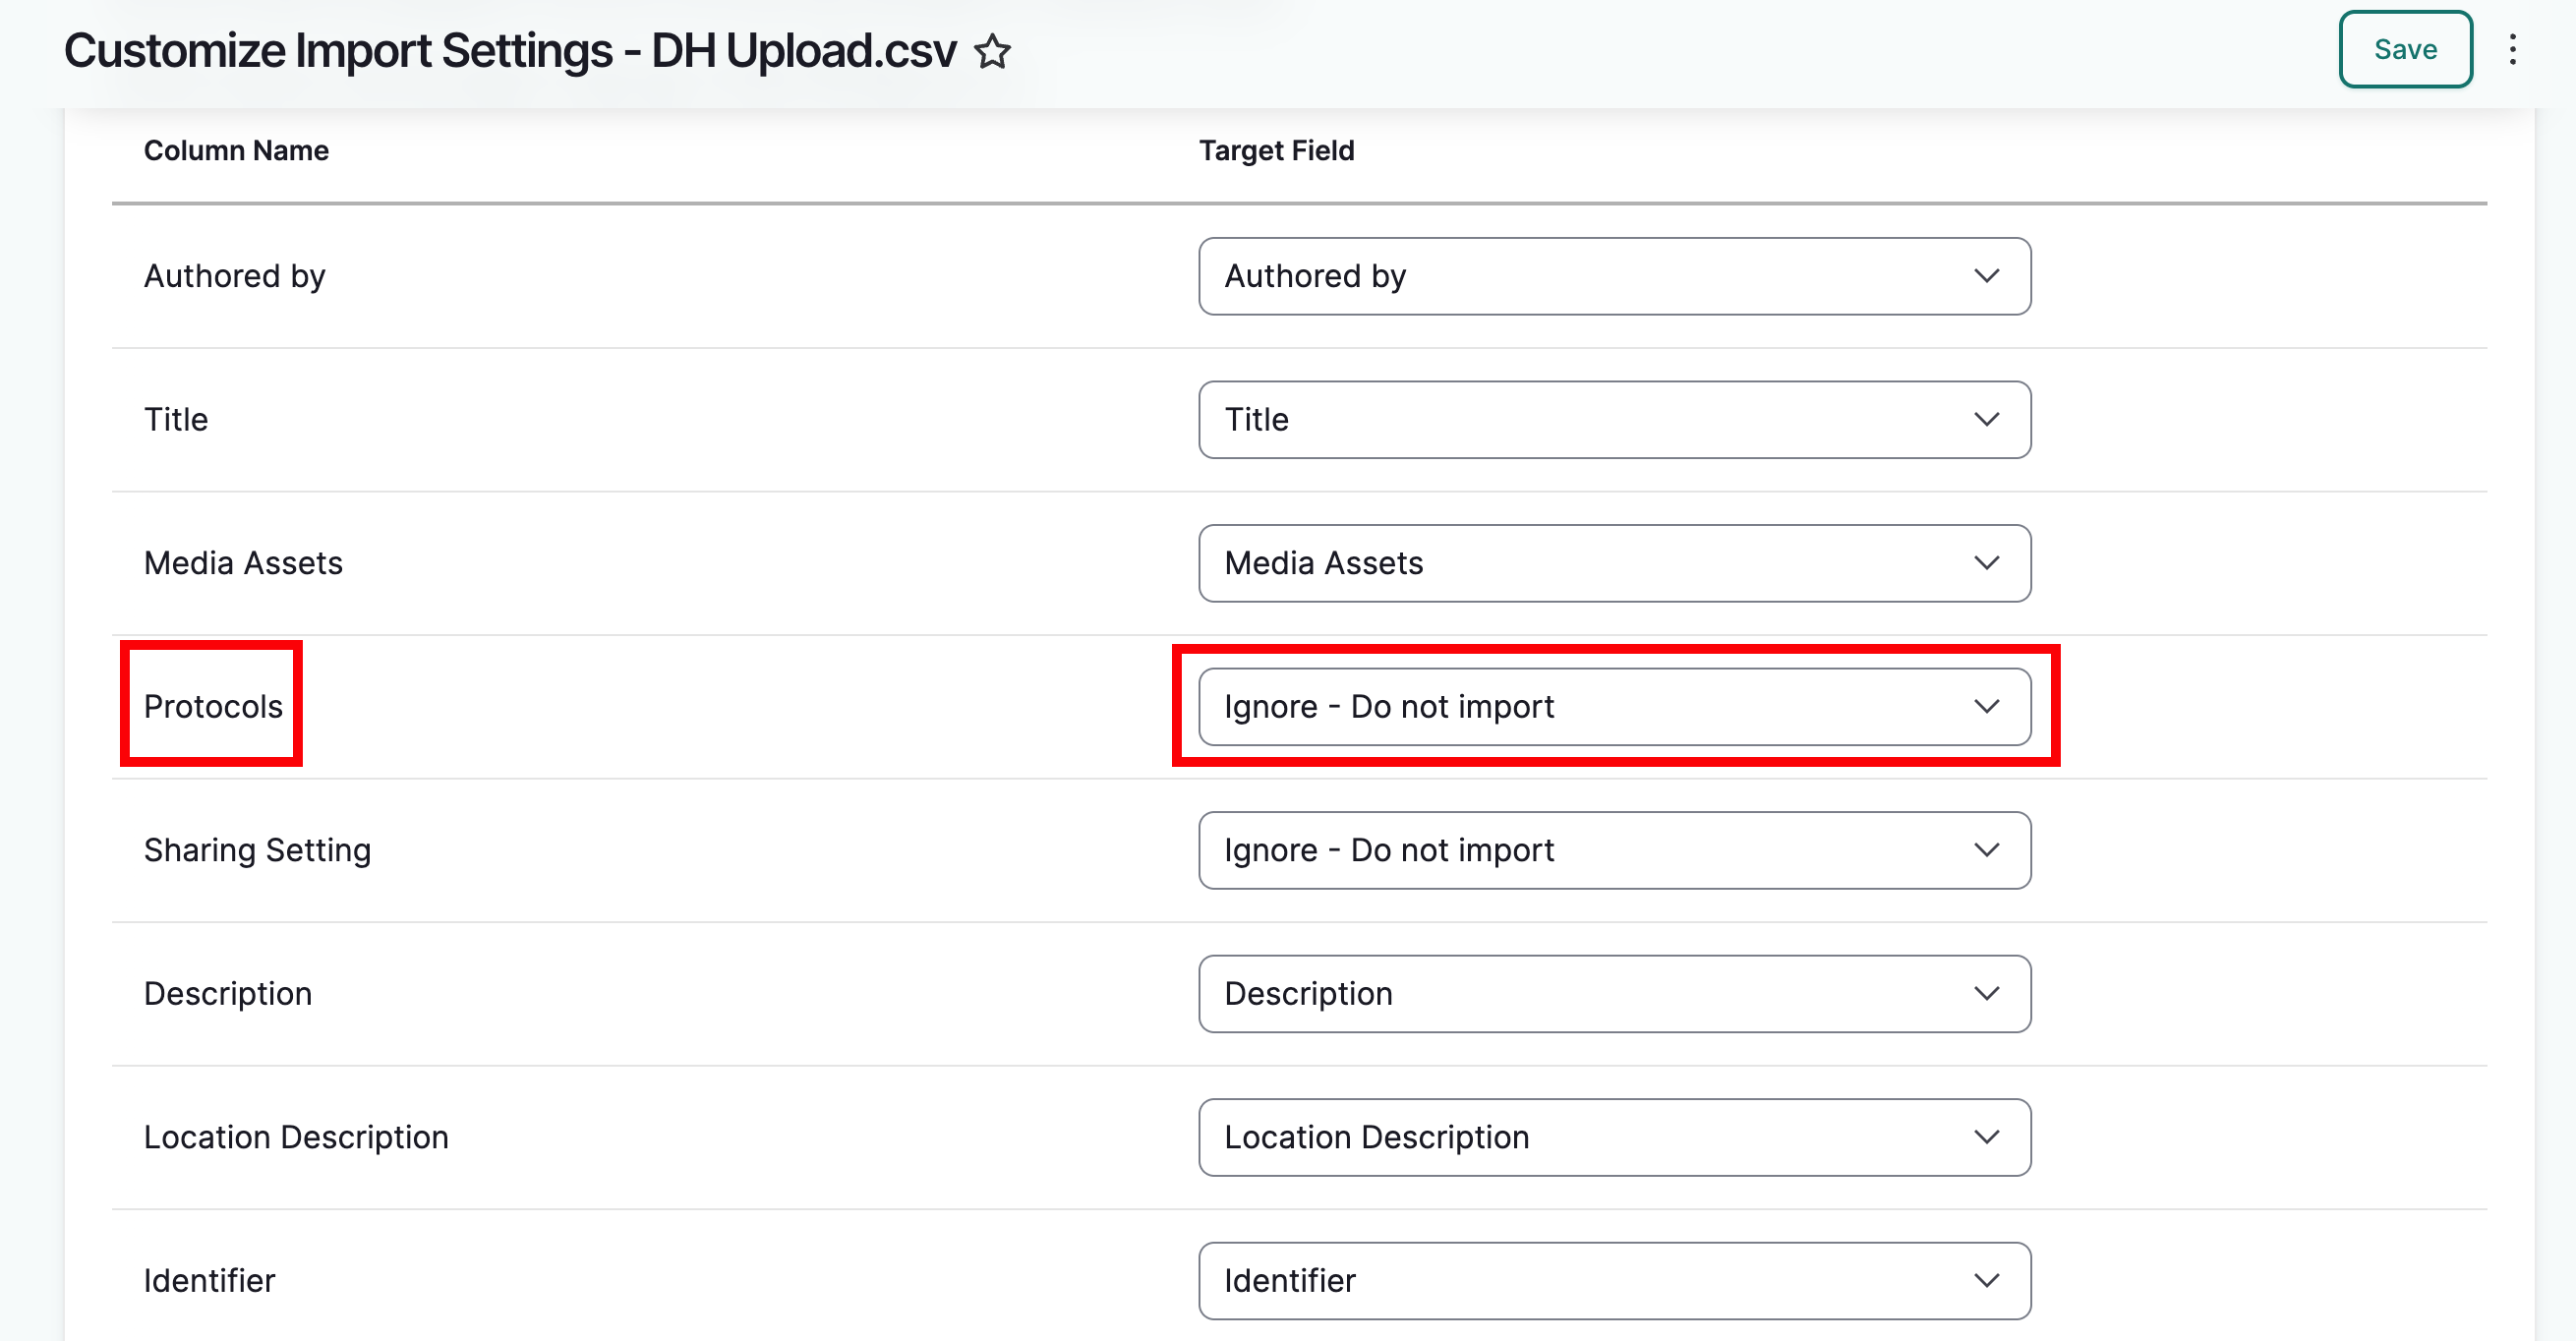
Column names that Mukurtu does not recognize will be labeled "Ignore - Do not Import."
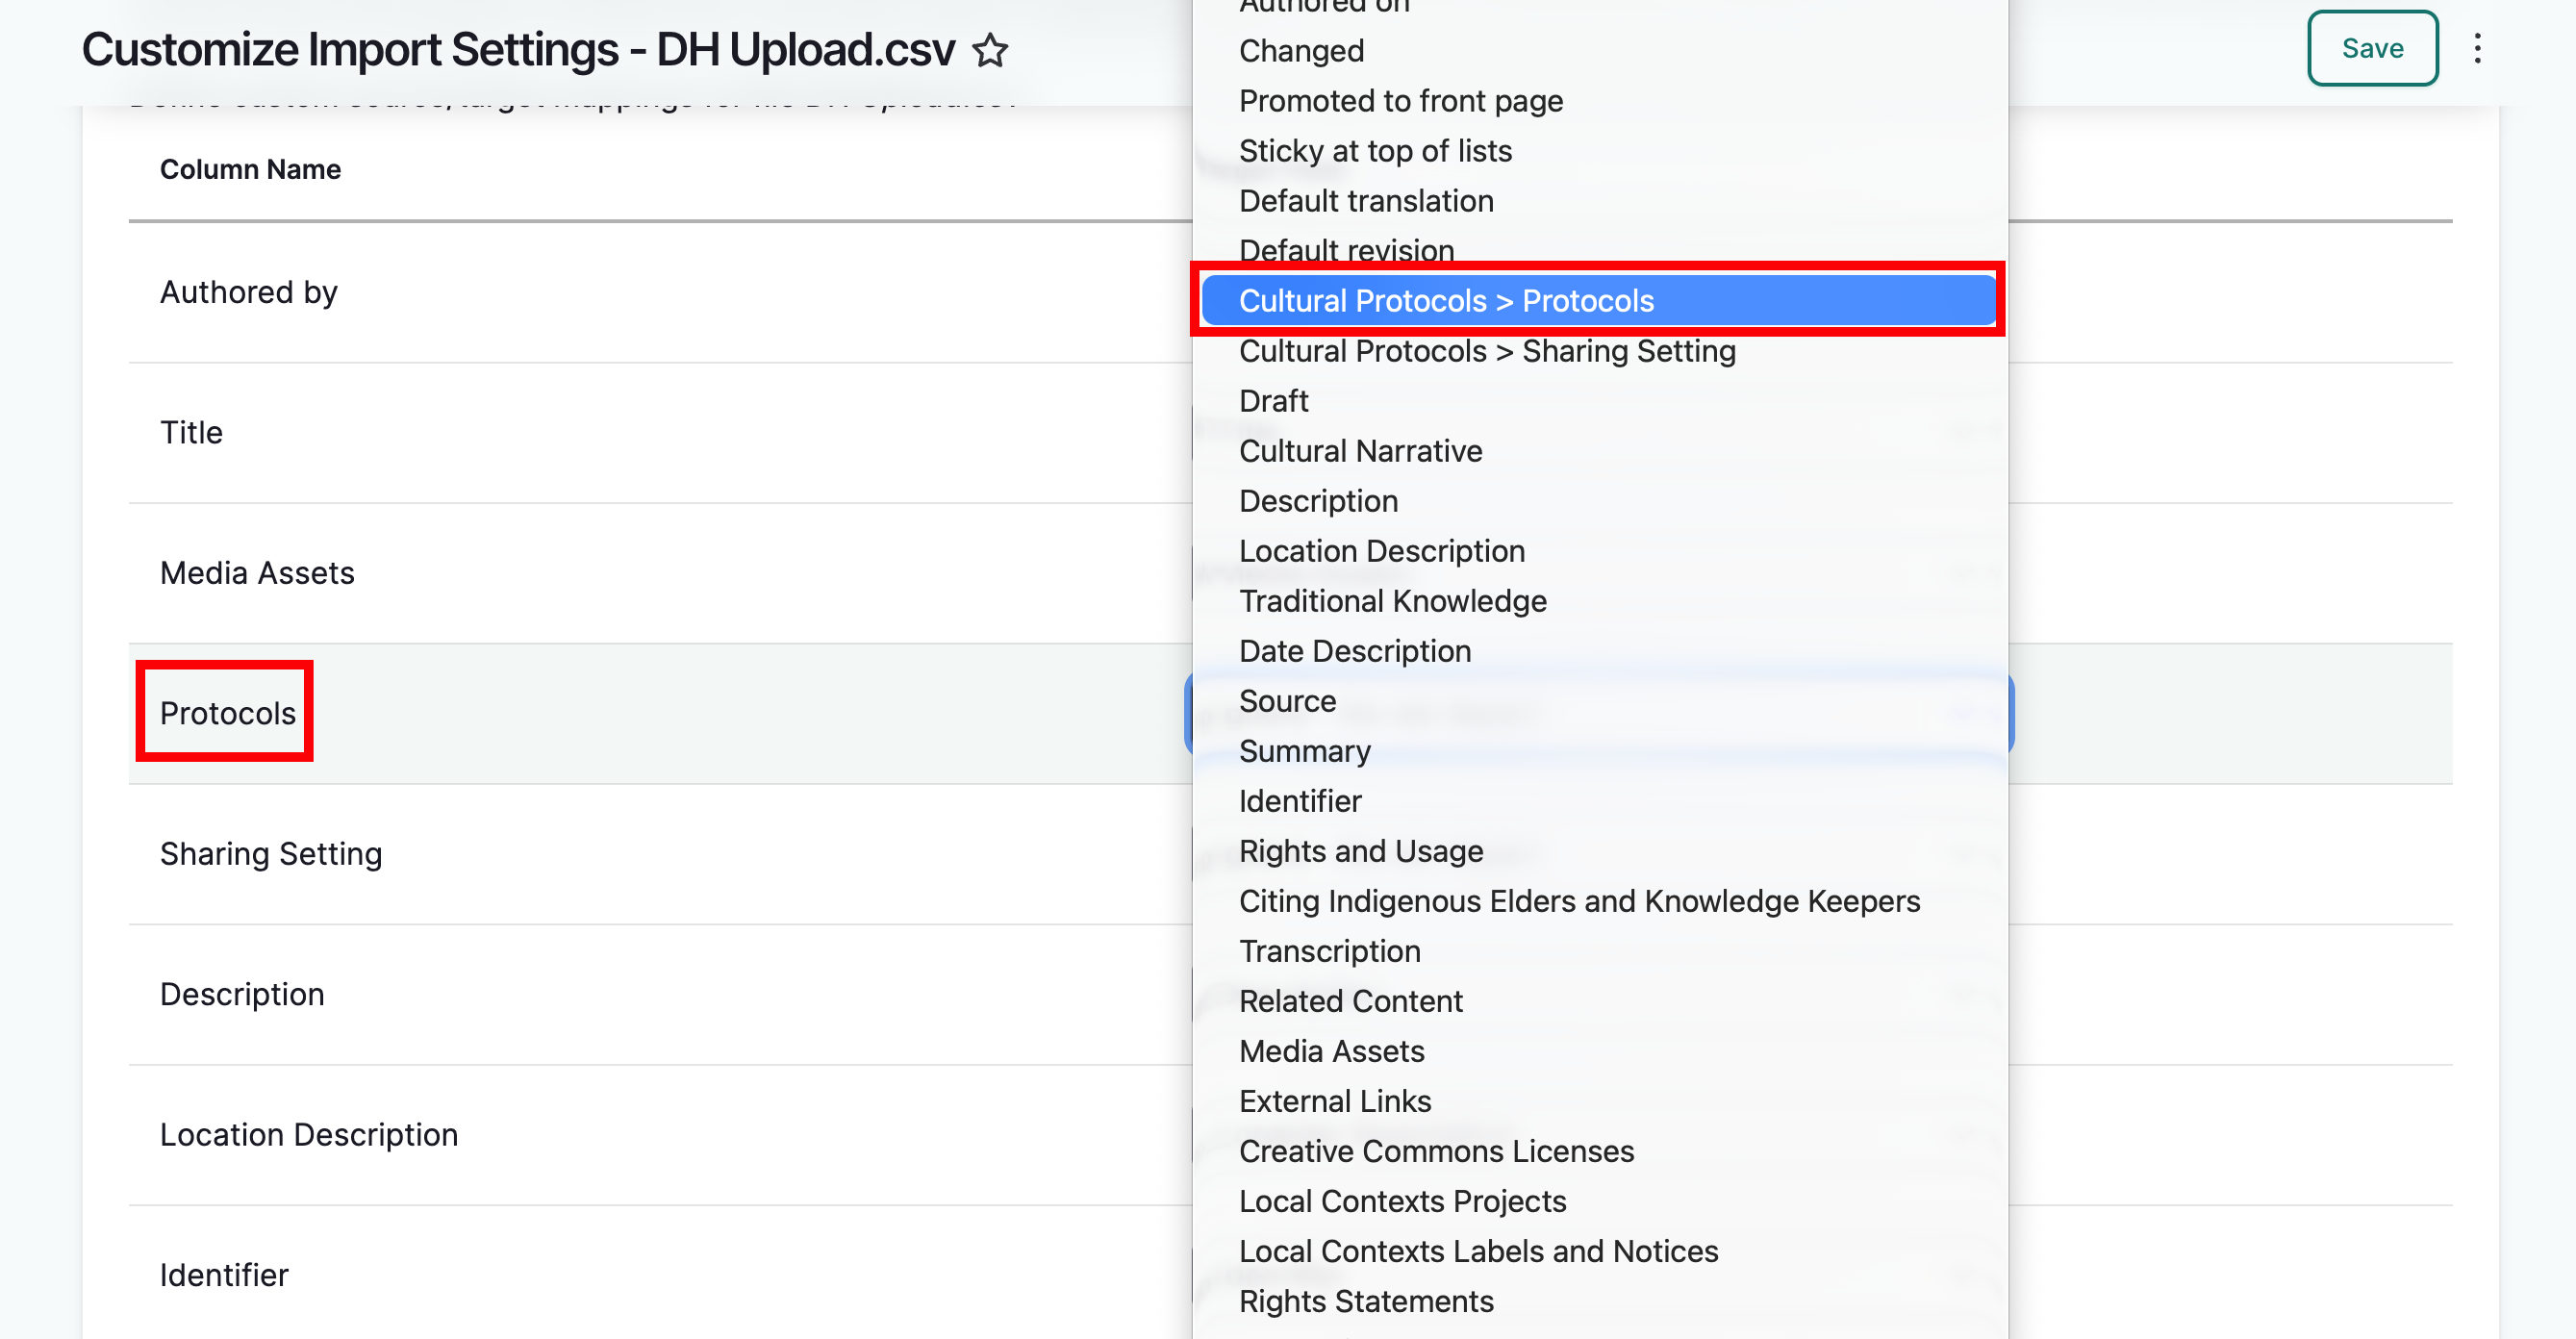
For each column name you wish to map, open the corresponding menu and select the appropriate Mukurtu metadata field.
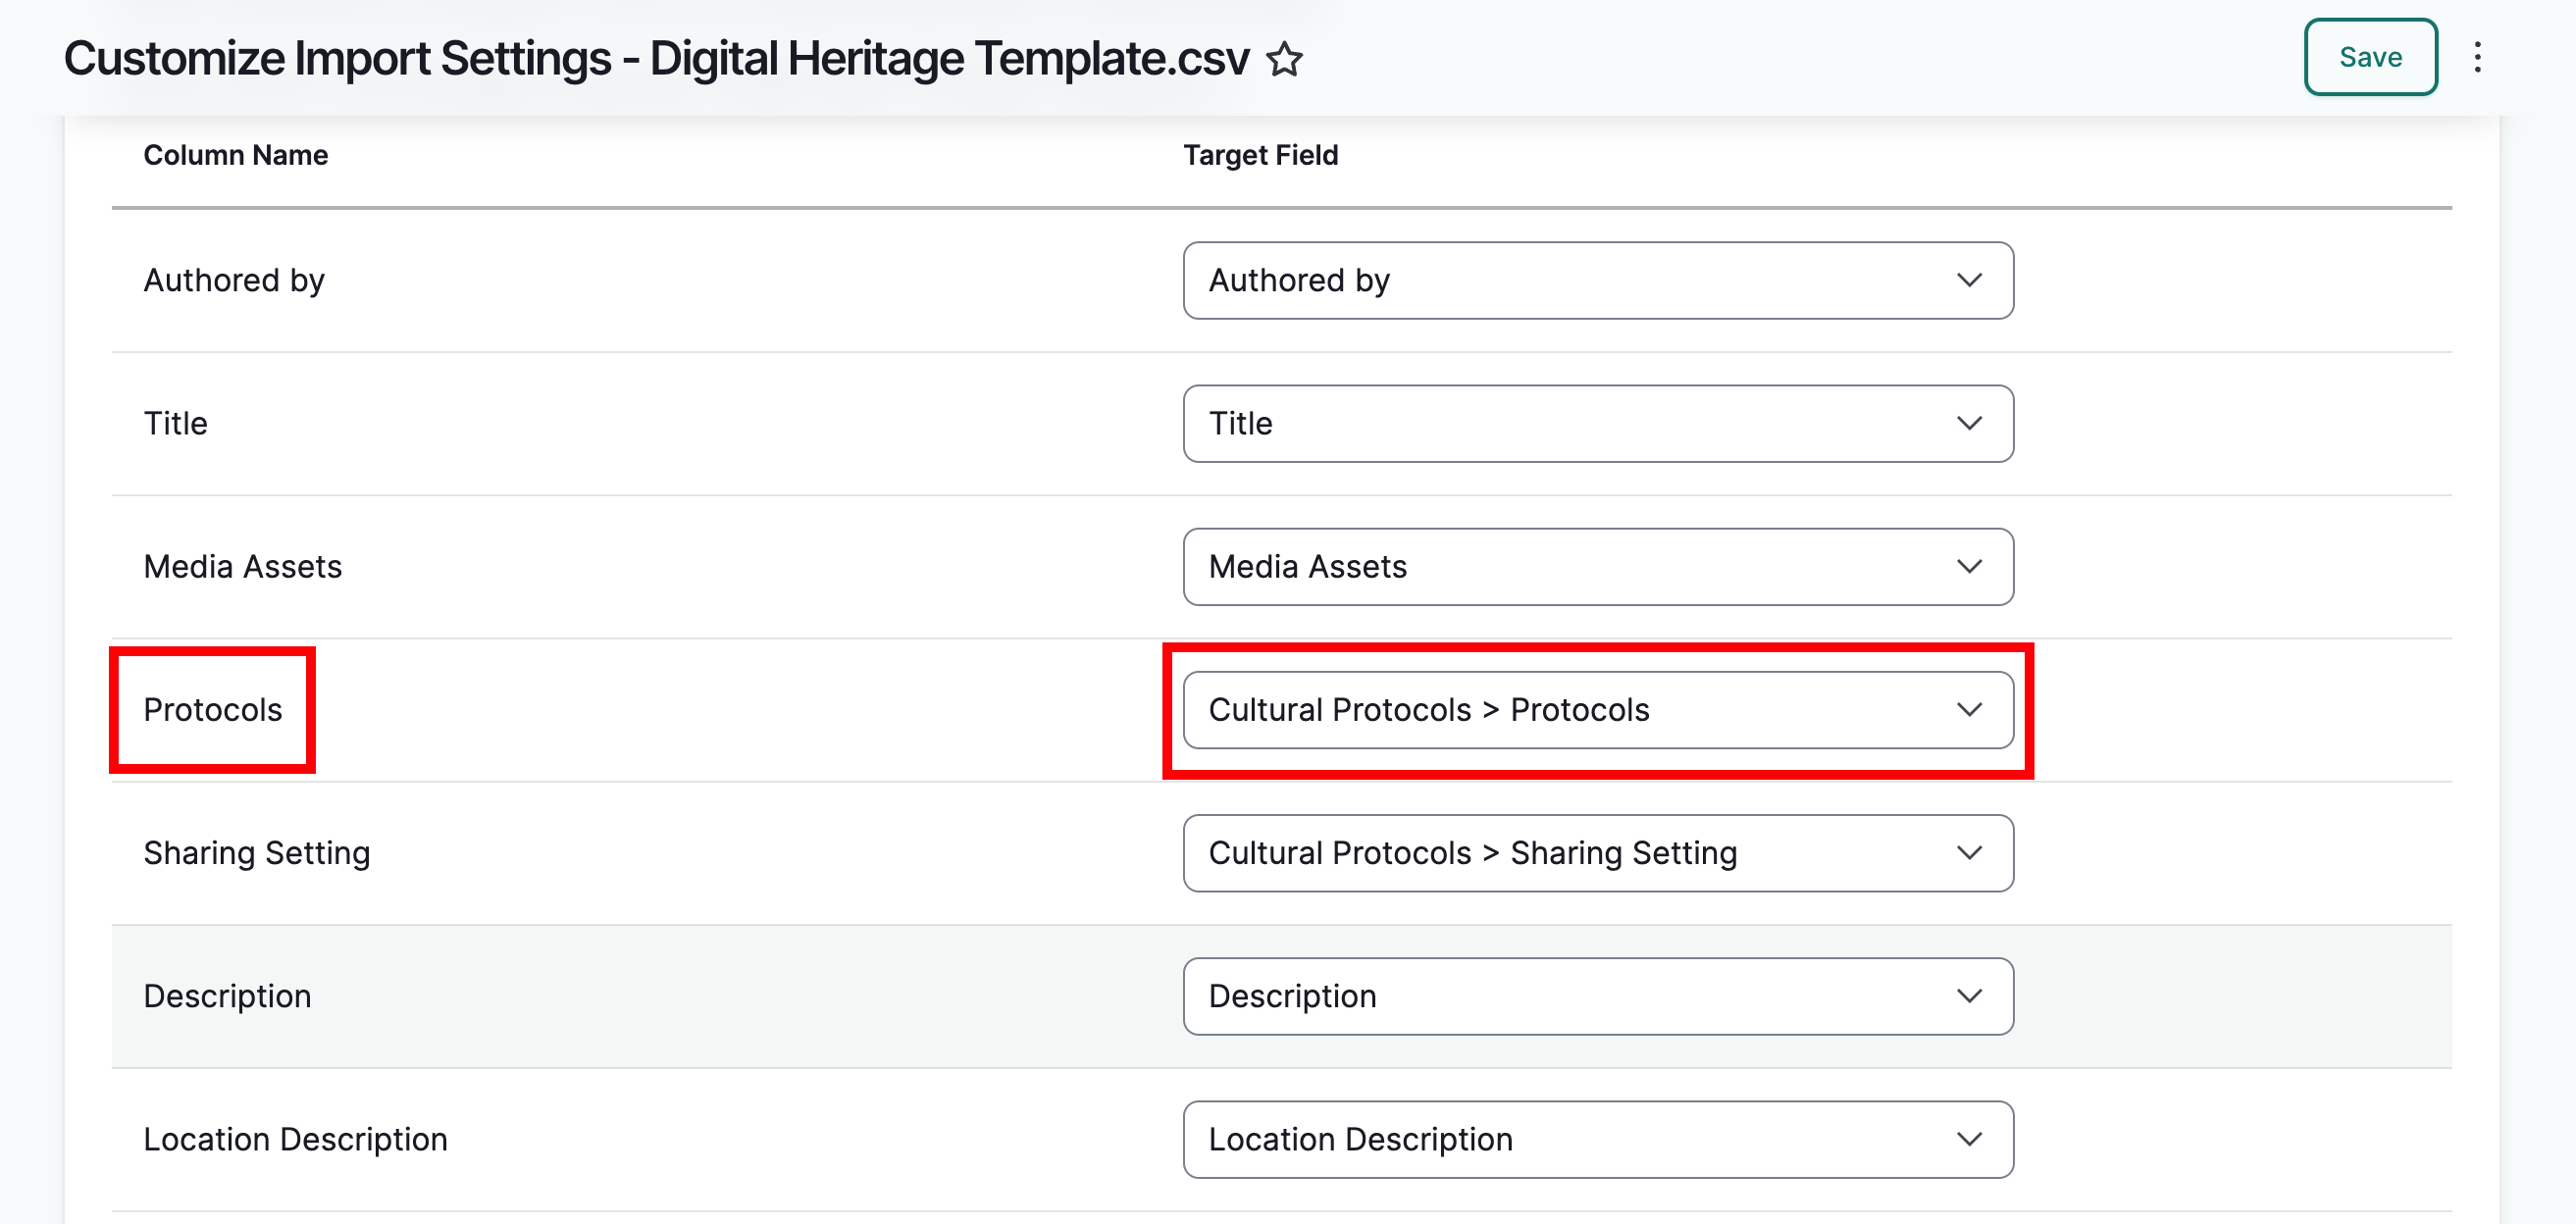
Tip
Note that you cannot map two columns to the same field. For example, if you have two columns labeled "source," you cannot select "source" twice as a target field.
File settings
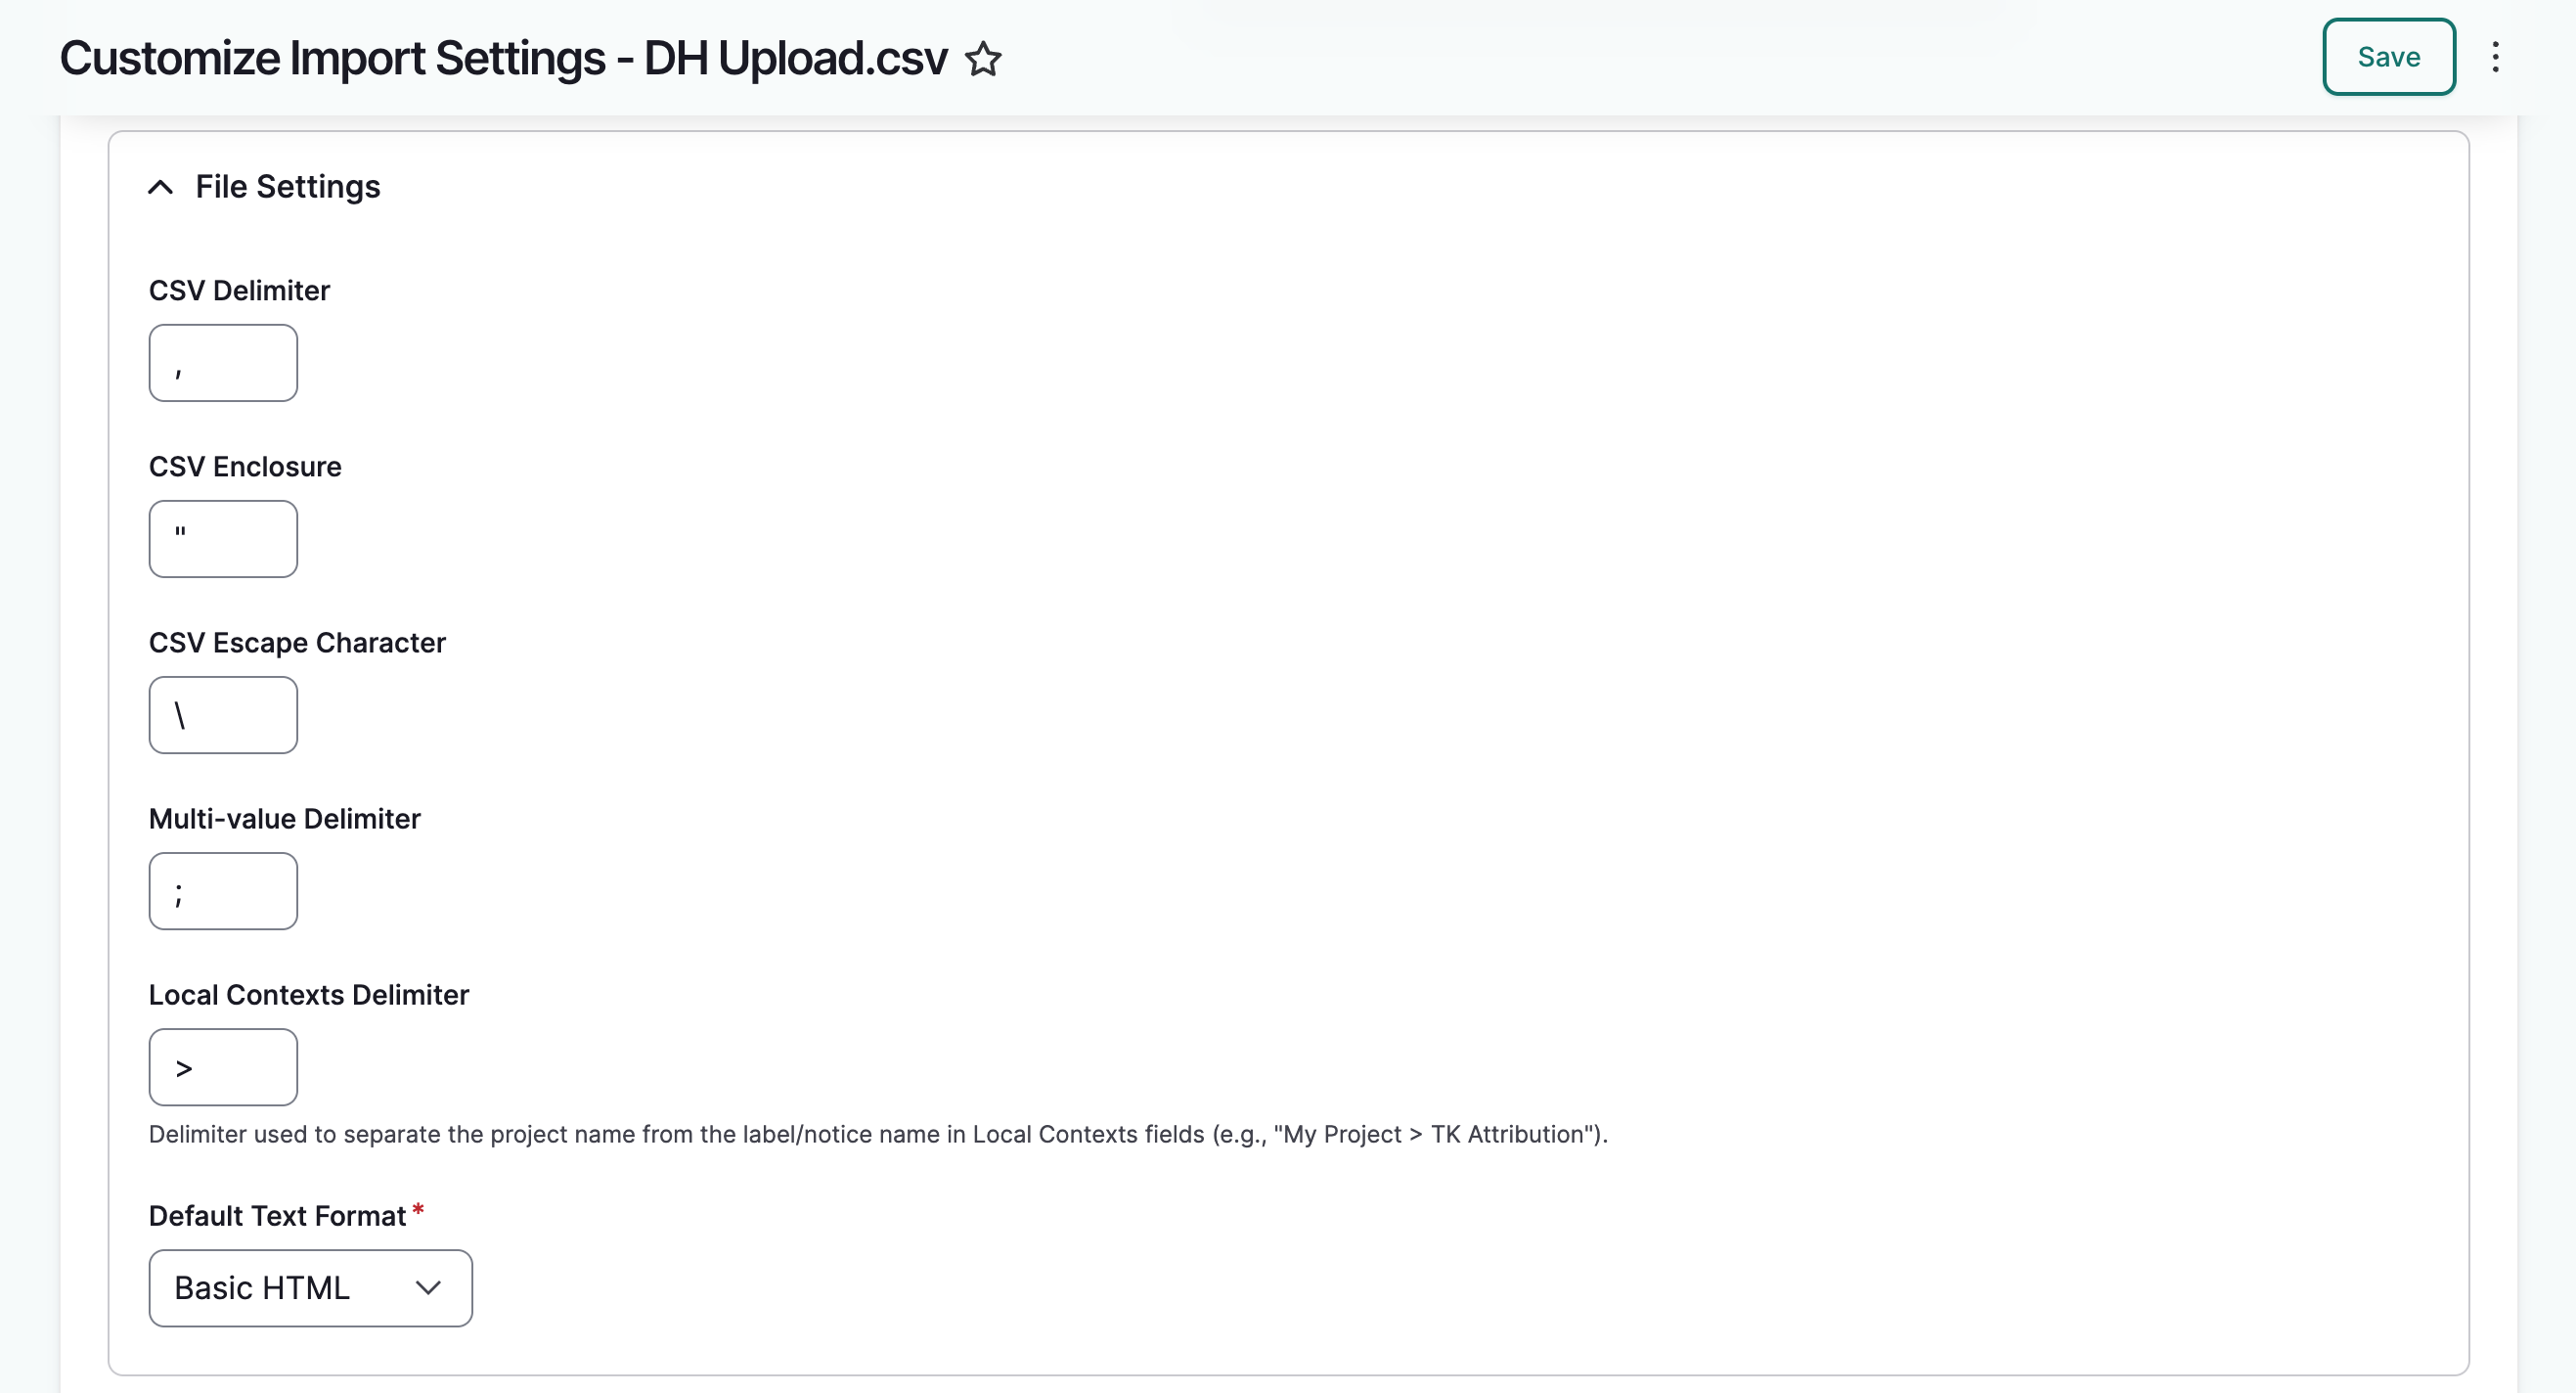
When your mapping is complete, scroll down to file settings and make sure that the default settings reflect your spreadsheet. The default settings are likely fine, but if you know your sheet is formatted differently, make any necessary changes to ensure your spreadsheet is read correctly.
For example, if you are using "||" as a multi-value delimeter, replace
";" with "||" in the multi-value delimeter field.
Saving an import template
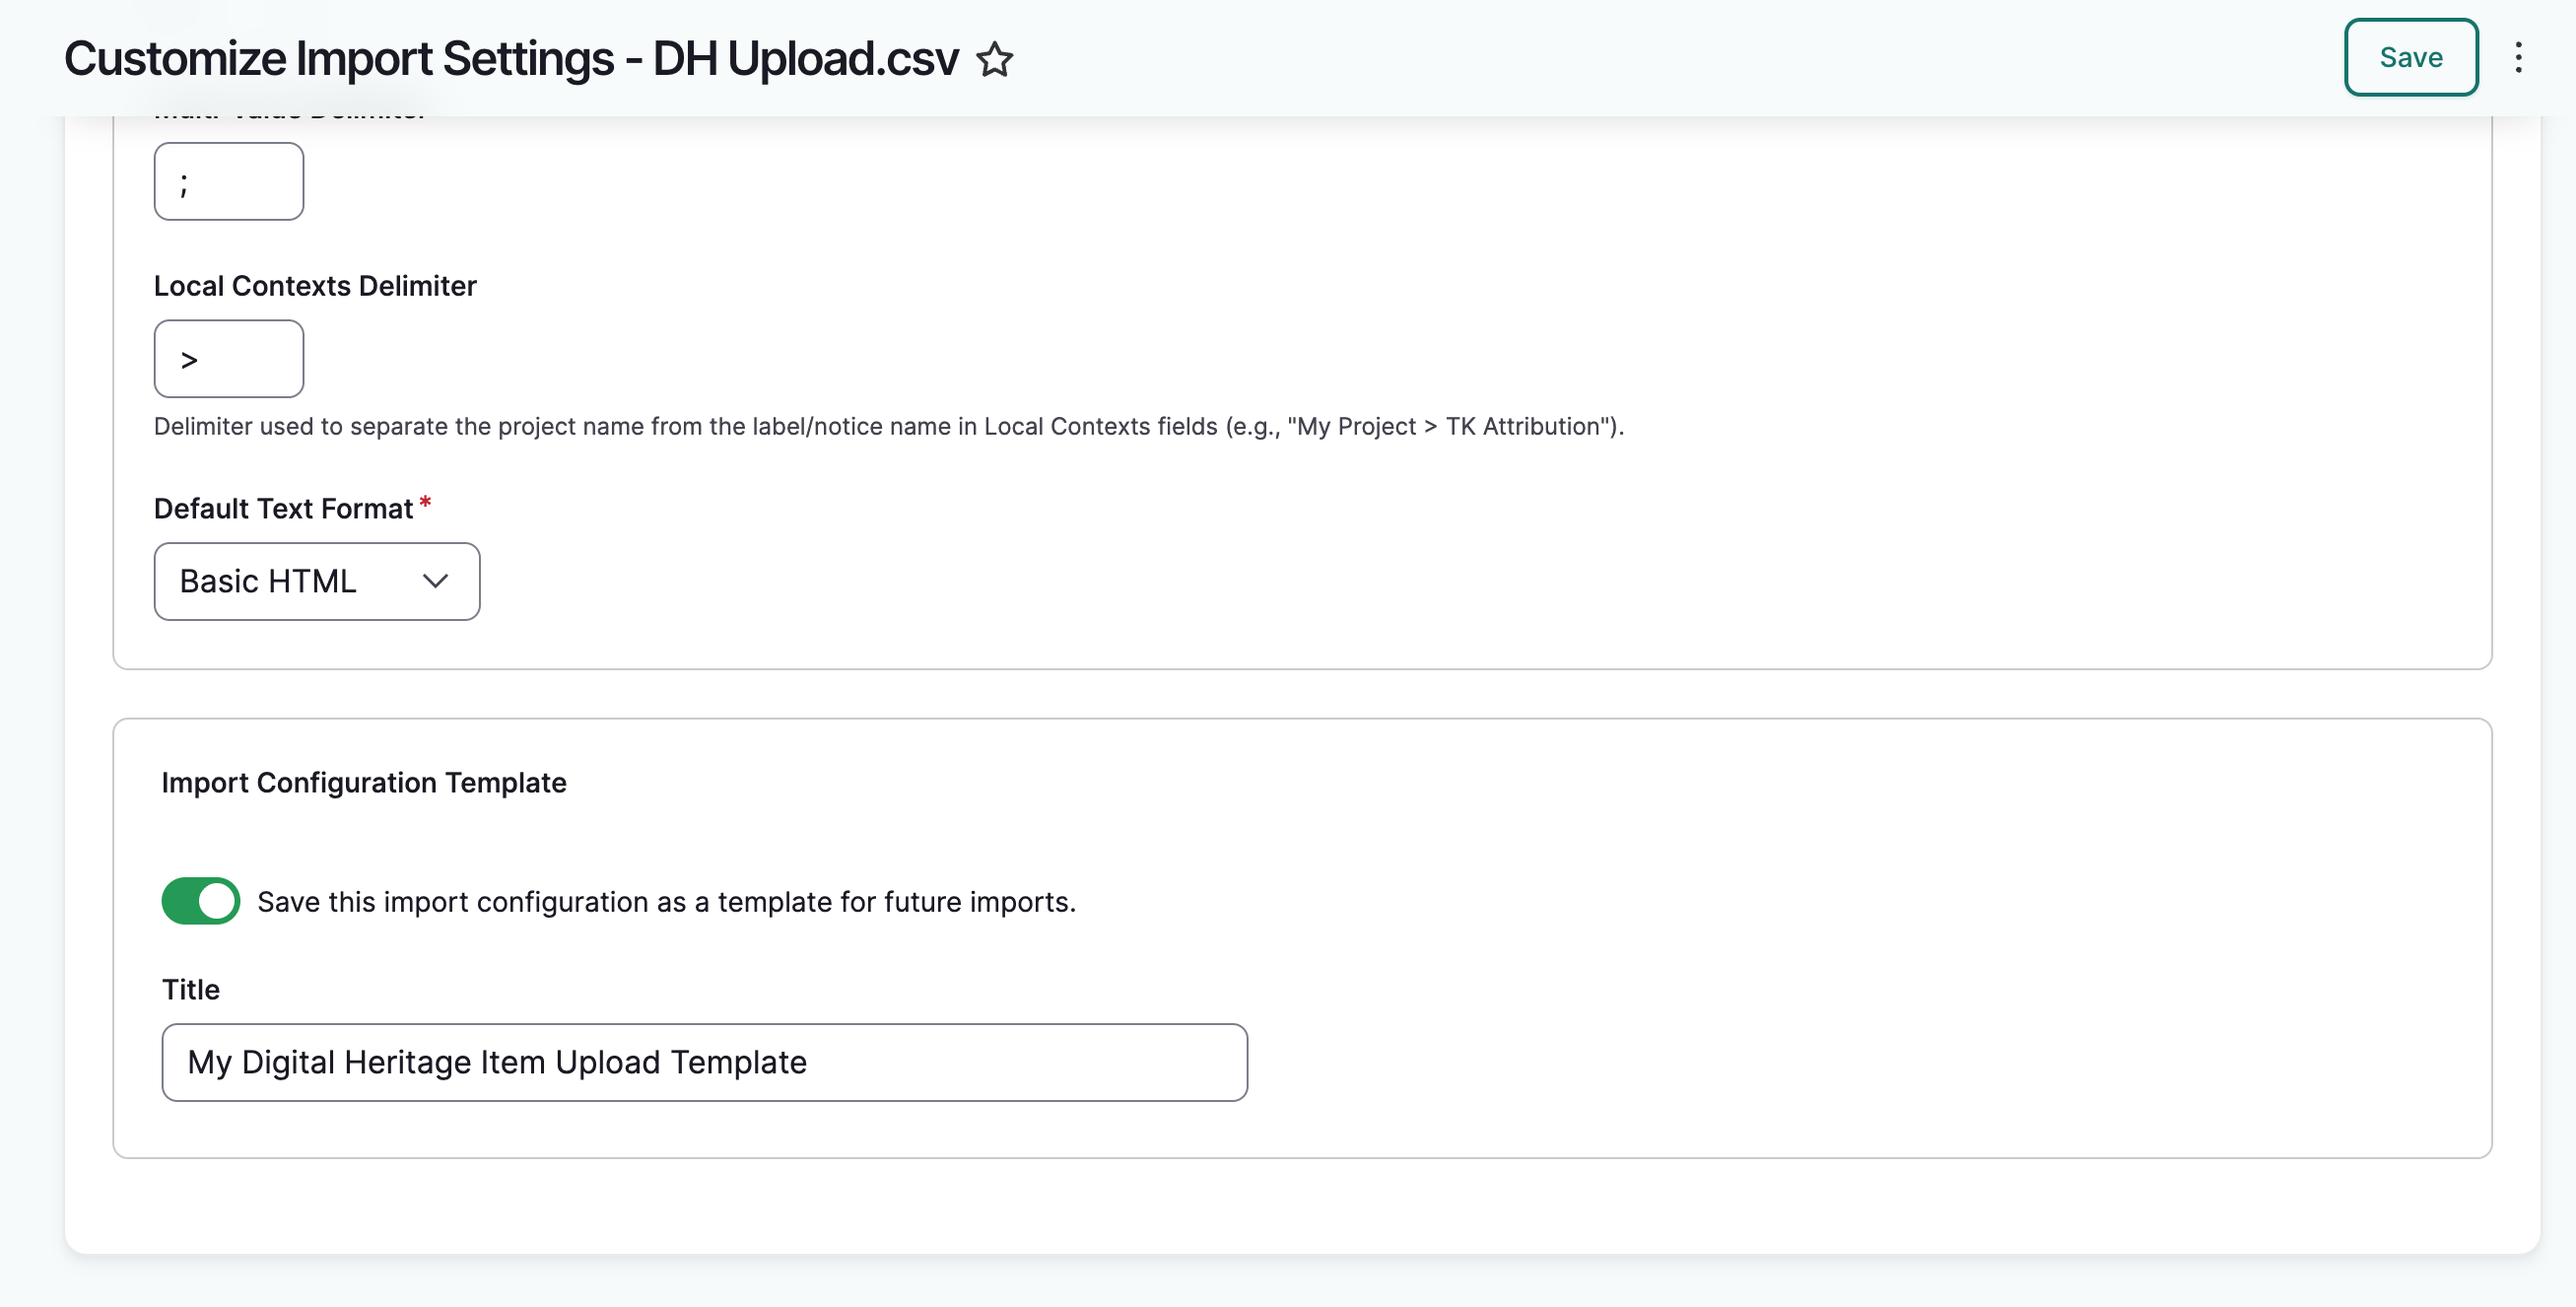
If you will be uploading other sheets that match these settings, you can save this as a template for future uploads, and these configuration steps won't have to be repeated.
To save a template, toggle the "Save this import configuration as a template for future imports" on and give your template a descriptive title. When you are done, select "Save." You will be returned to the file configuration page.
Review and run import
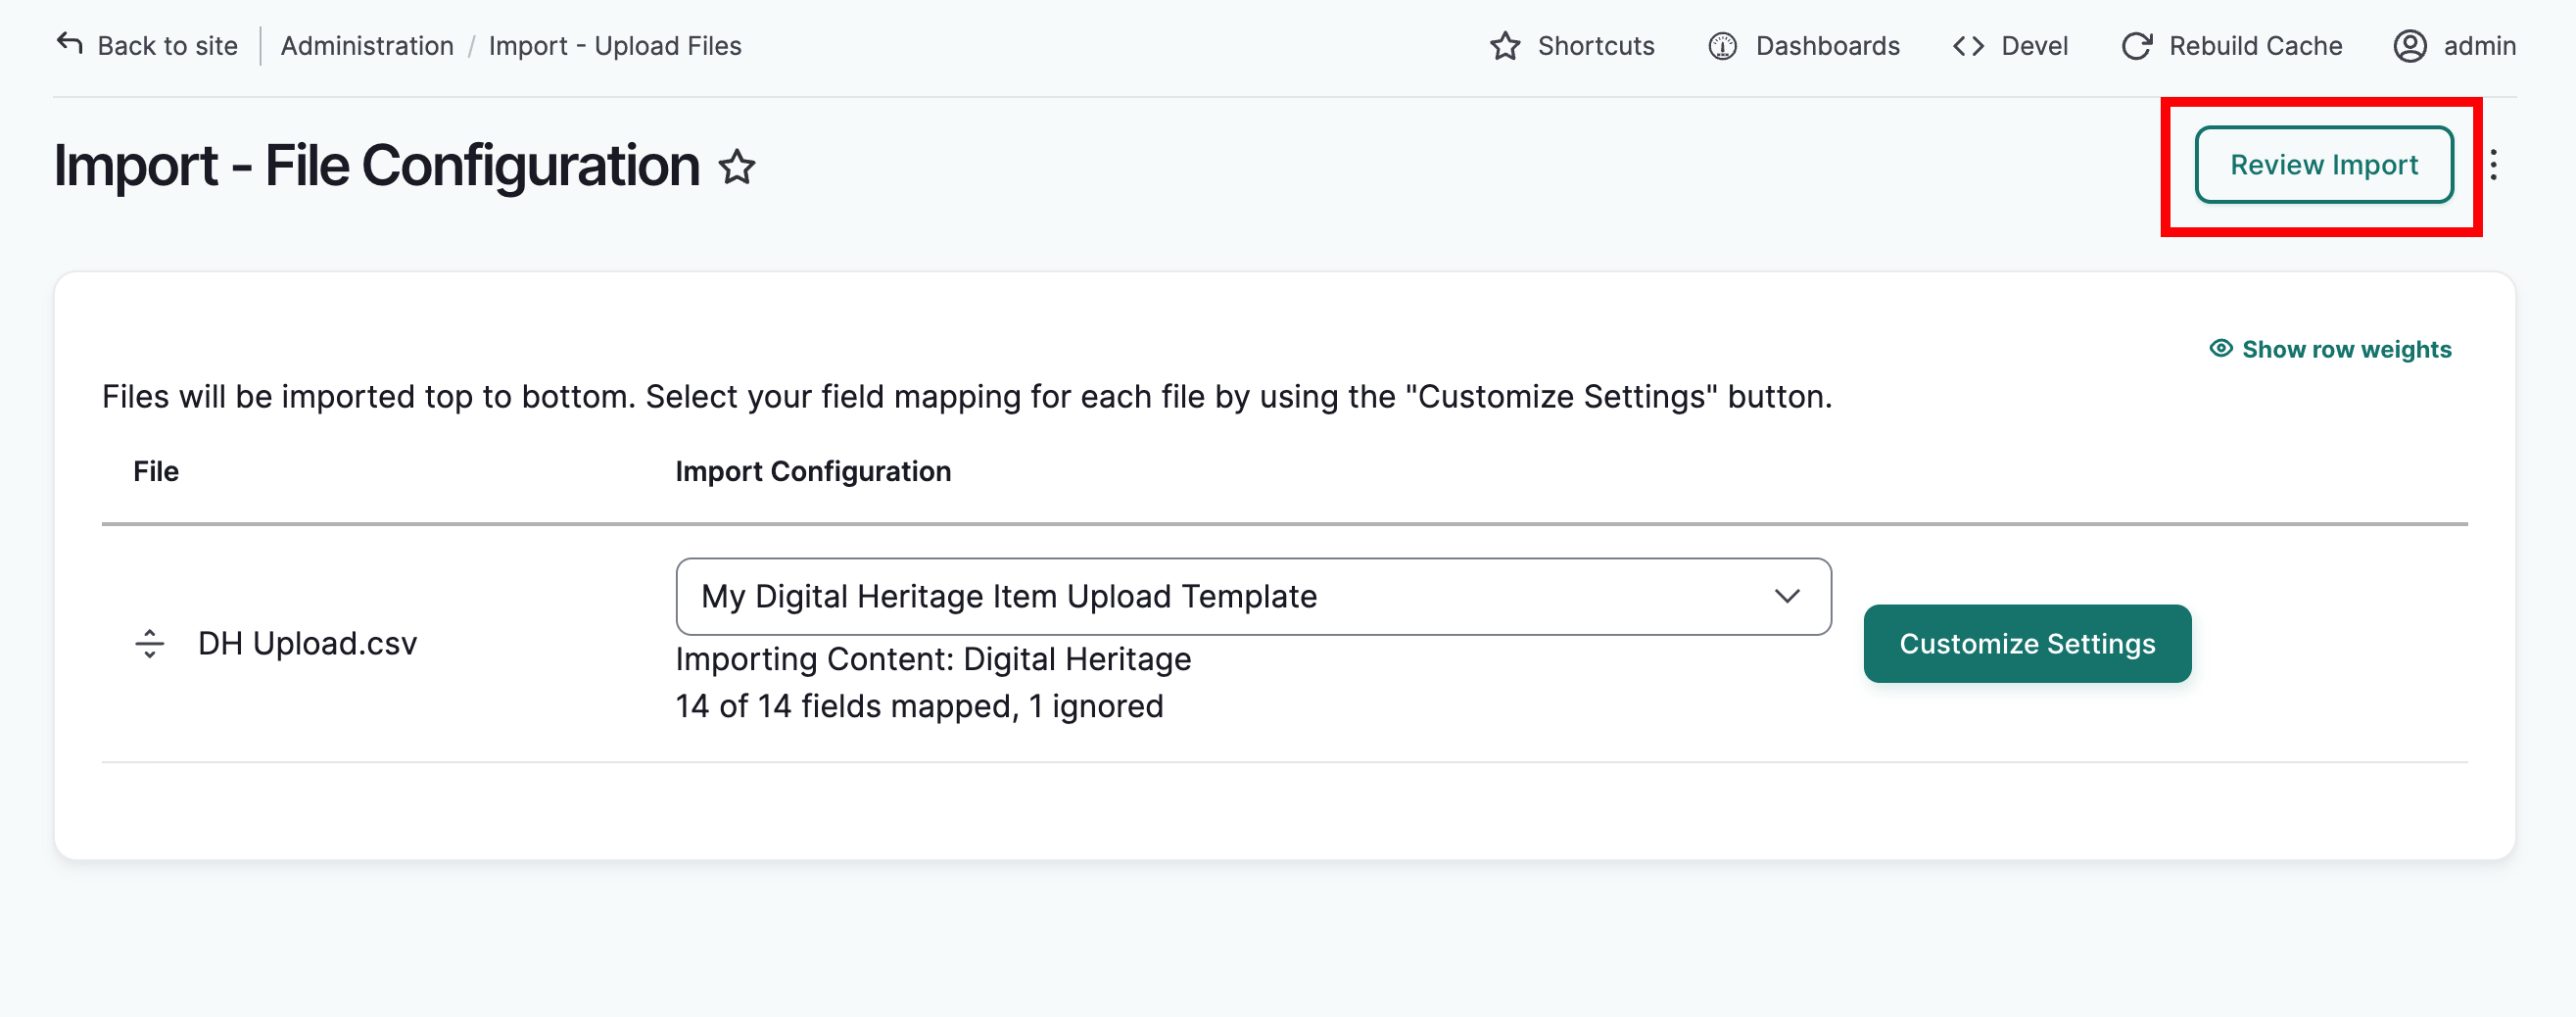
If you saved your template, you will now see it selected in the import configuration dropdown menu with a summary of the content type, number of fields mapped, and number of fields ignored. If you need to make additional changes, select "Customize Settings" to return to the import settings. When you are ready to proceed with the import, select "Review Import."
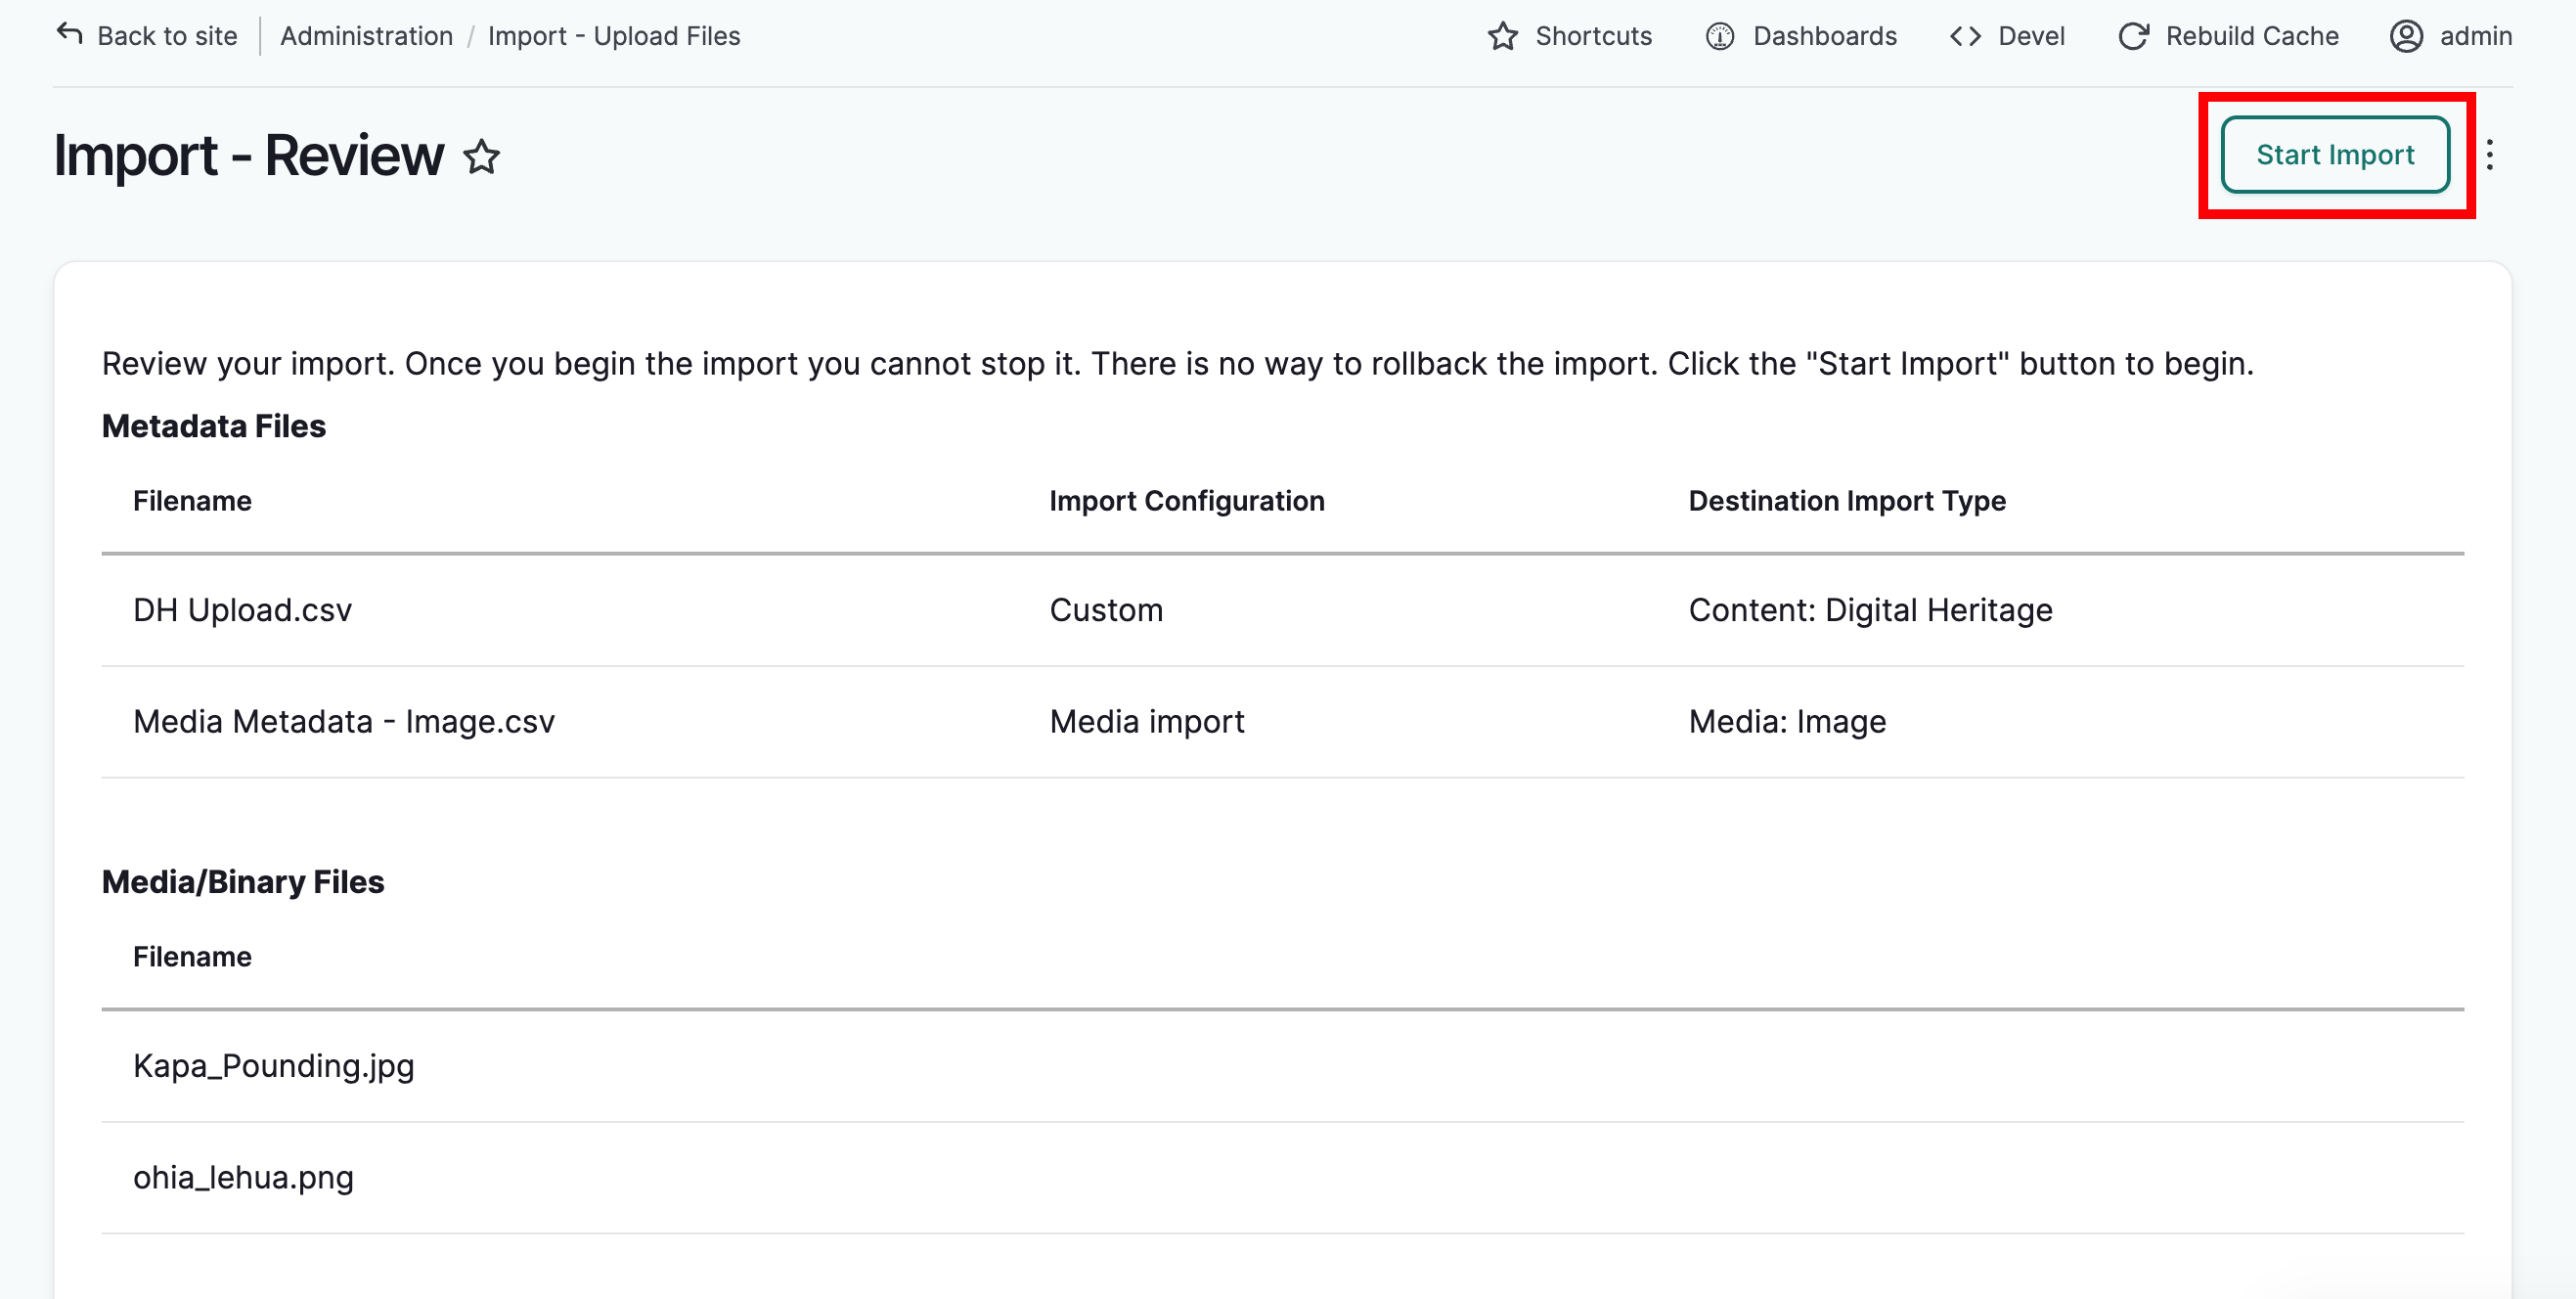
The import review page lists all included metadata, media files and configurations. If everything looks correct, select "Start Import."
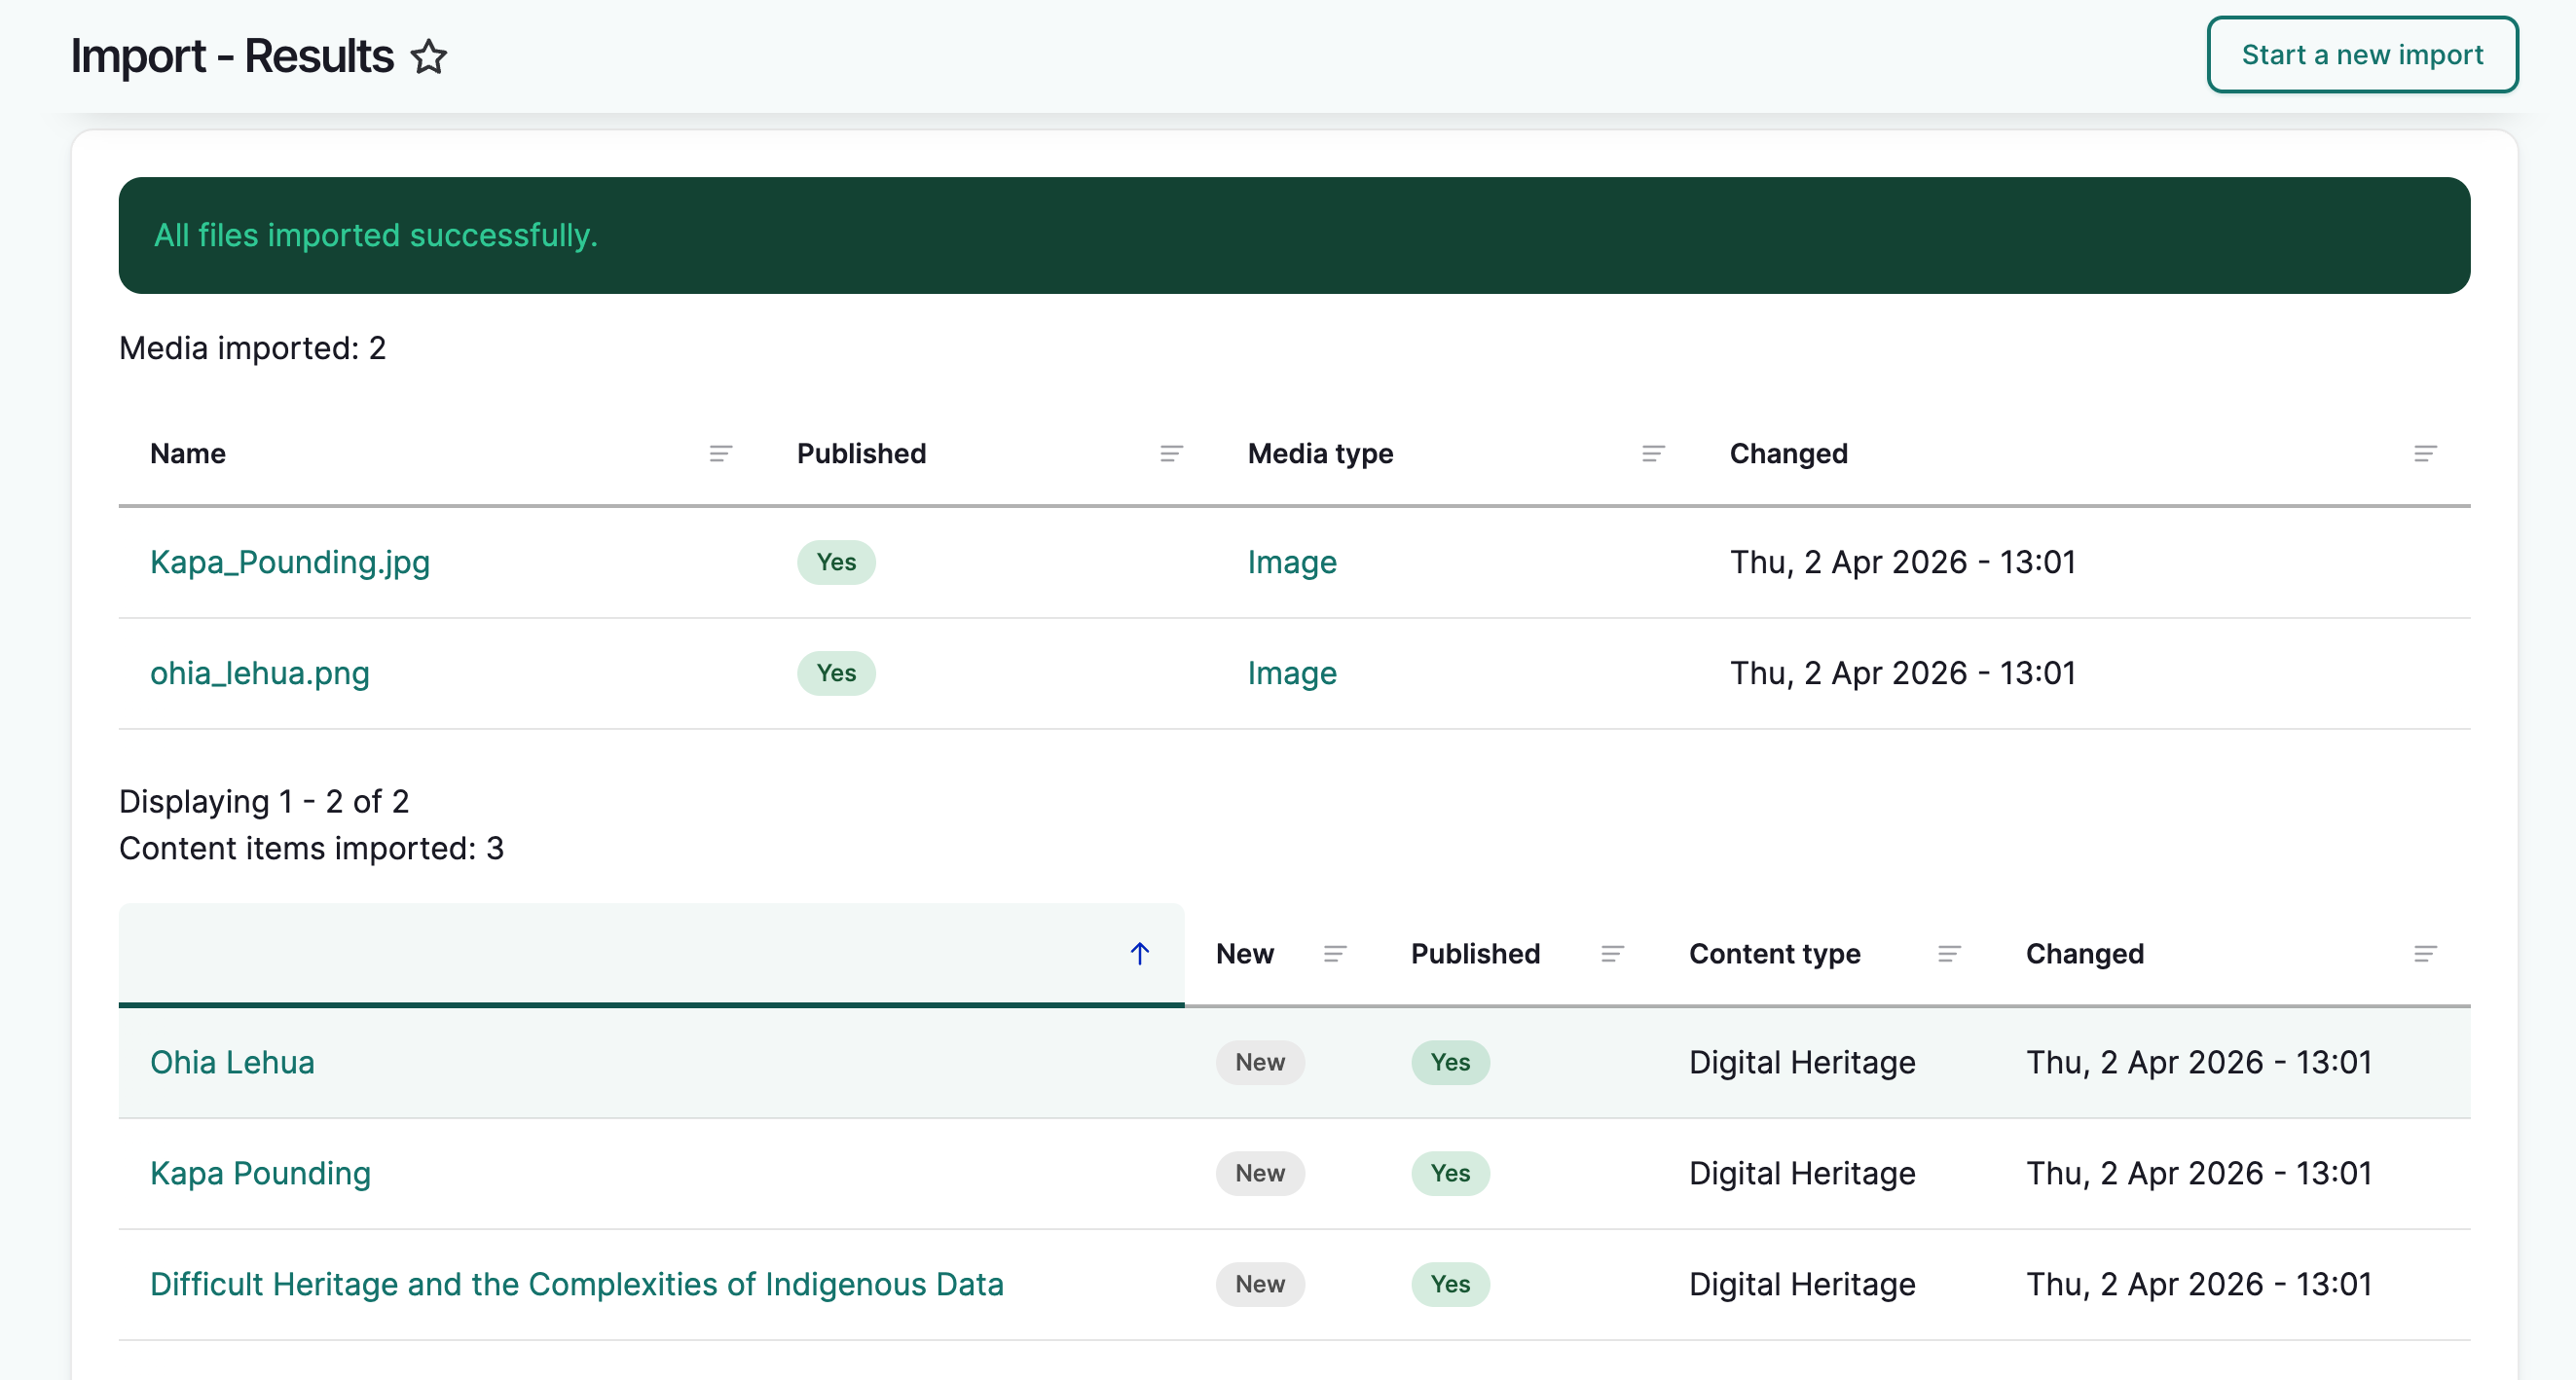
The import will run. When complete, a results page will populate with a success message and a list of items that imported successfully. Select the titles to view each item.